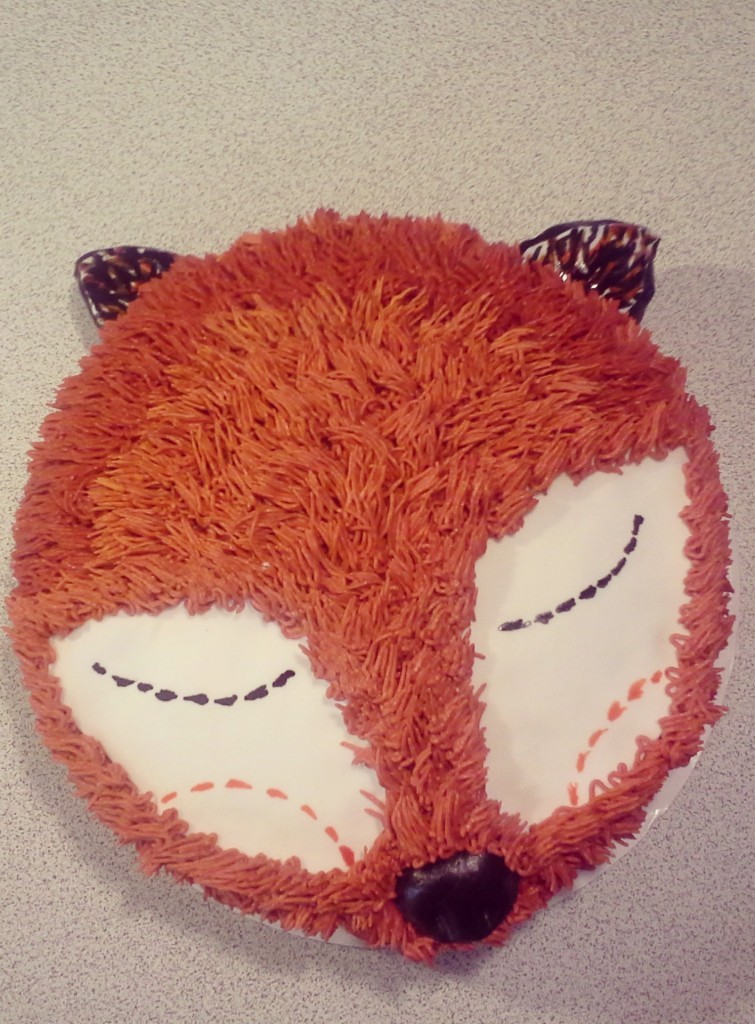
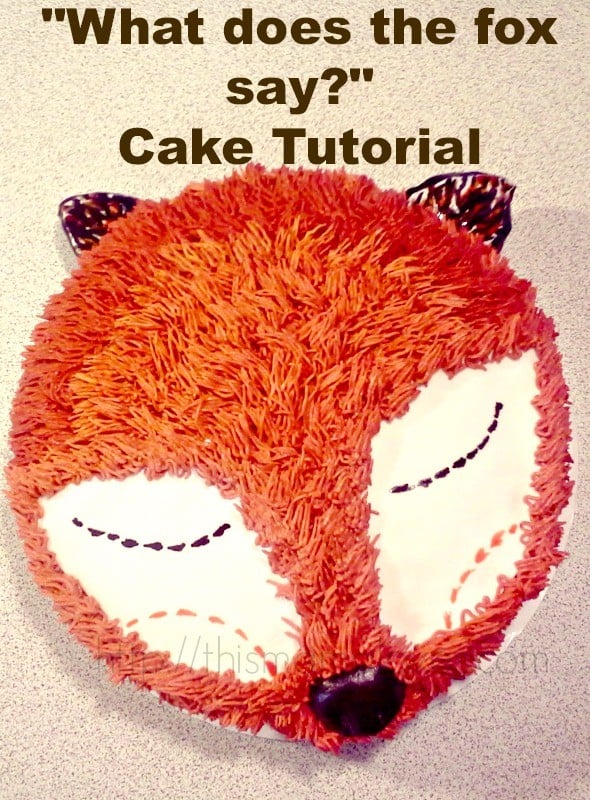
This “What Does the Fox Say” cake is very simple to make and is perfect for anyone who is scared to use fondant for overall cake decorating. The cake is covered in buttercream using a very simple application and is finished off with just a few fondant details.
This is what I used:
2 – 8” round cakes (completely cooled then frozen for approximately 30 minutes)
9” or 10″ cardboard cake base
Prepared buttercream frosting (in white & fur color) (recipe coming)
Prepared fondant frosting (in white & dark brown) (recipe coming) If you want to buy the fondant, Satin Ice is the best tasting “bought” fondant I’ve tasted
Gel food coloring “water color paint” (instructinos coming)
Icing bag with tip insert and “grass” tip
Fine tip paint brush
6 Toothpicks
Silicone rolling pin (for rolling out fondant)
Spatula (for spreading buttercream base coat)
Powdered sugar (for rolling out fondant to prevent sticking to counter & rolling pin)
Smooth blade sharp knife
Step 1
Place your bottom 8” round on your cardboard cake base. Cover the top generously with your white butter cream. Add your next layer and with your spatula spread a thin layer of white buttercream over the top and sides of both layers. This layer of frosting does not need to be extremely smooth as it will be covered with your layer of “fur”. 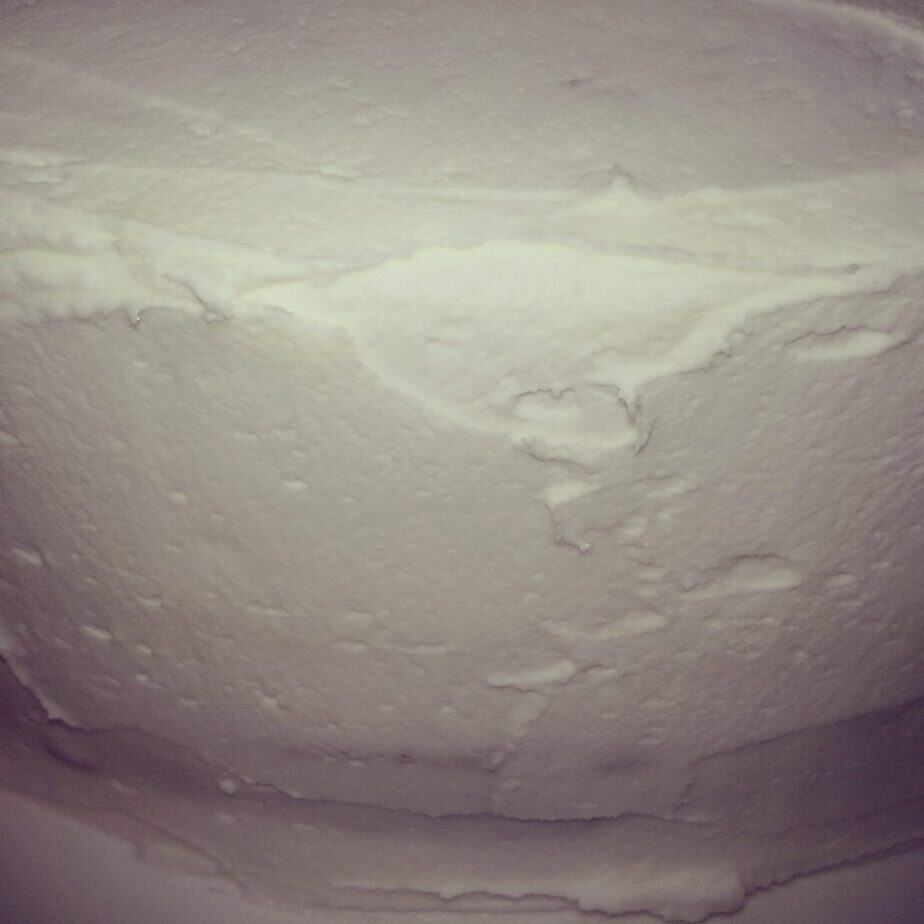
Step 2
Fill your icing bag with your prepared brown/red frosting and attach “grass” tip.
Work from the bottom to the top of the cake in rows, piping the frosting in tufts at an angle onto the base coat. Work your way clockwise around the cake so that each row of tufts overlaps the one before.
Once you have completed the sides, begin working in the same manner to cover the top of the cake. Follow the circular lines of the round cake, again overlapping the tufts.
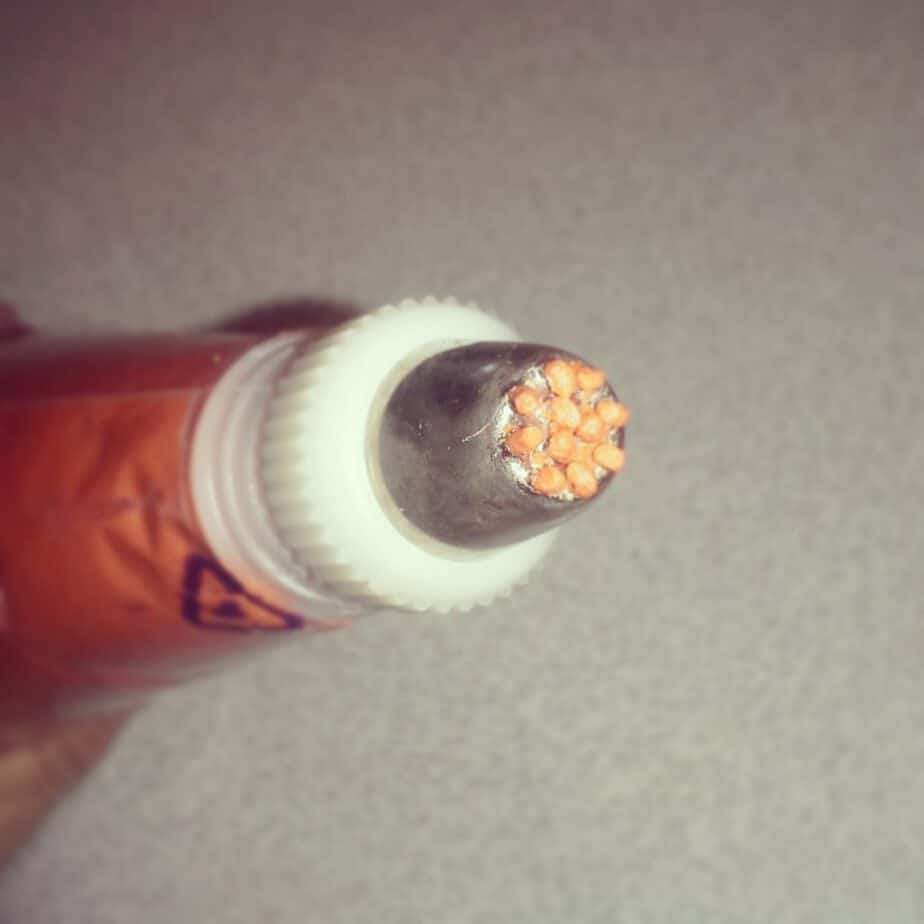
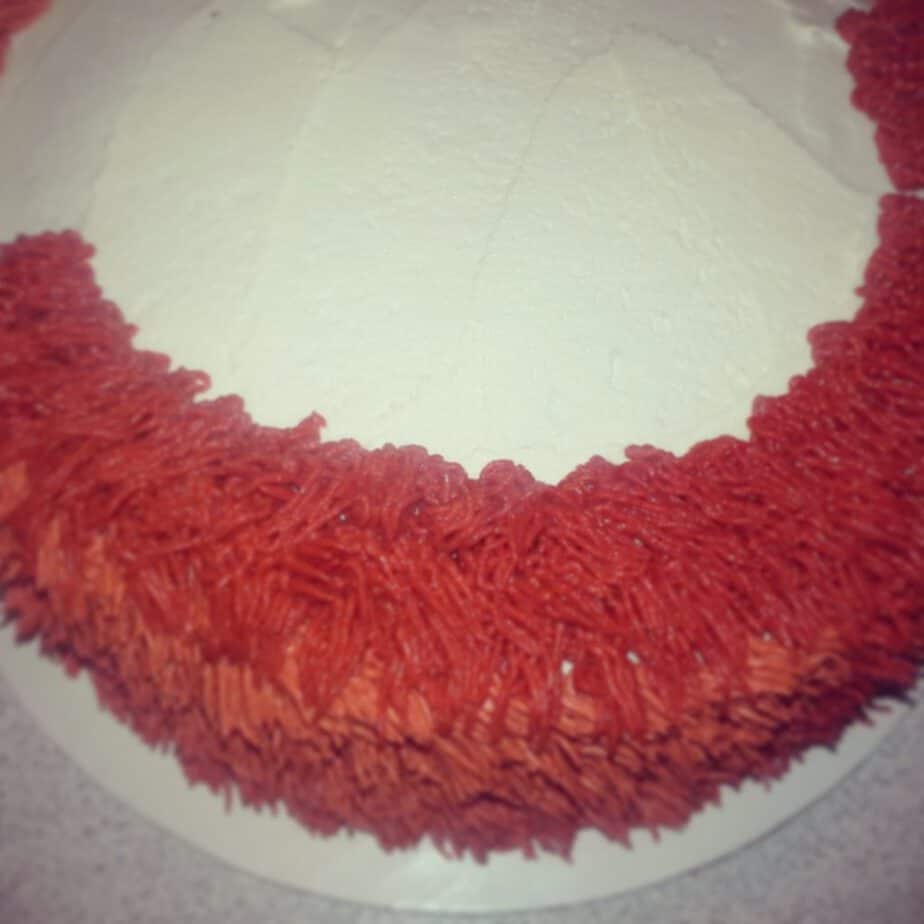
Continue covering the face of the cake, leaving only the areas for the eyes exposed.
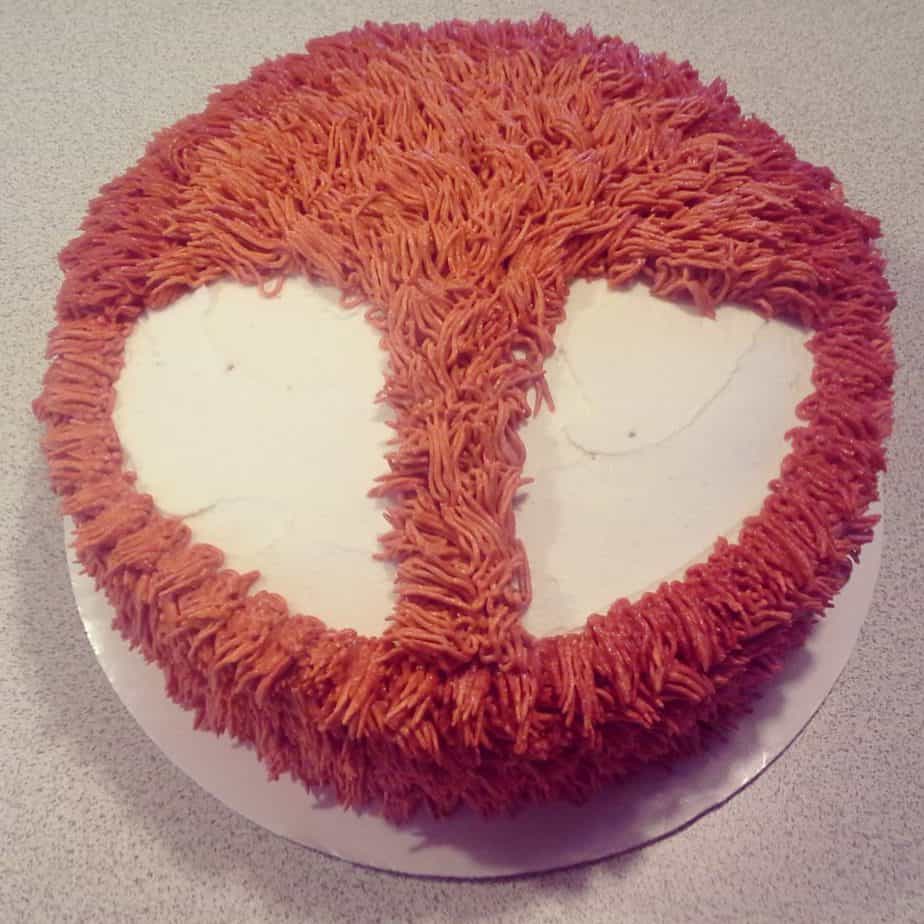
Step 3
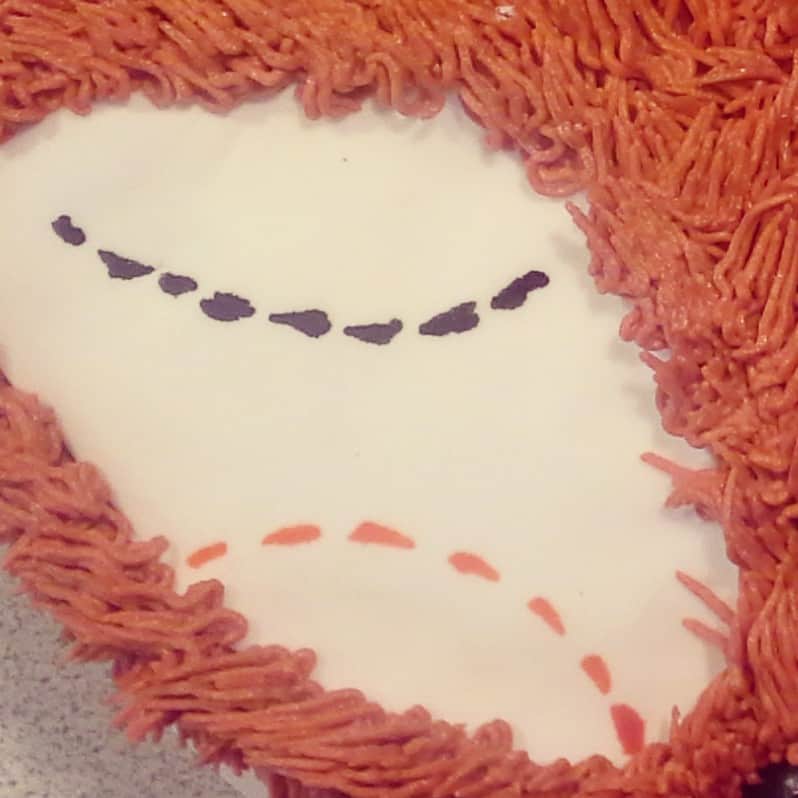
Roll out your prepared white fondant to a thickness of approximately ¼” using the silicone rolling pin. Be sure to dust your counter or surface and your rolling pin with powdered sugar to prevent the fondant from sticking. Using your smooth blade sharp knife, cut the fondant into the shape & size of your eye openings. Gently lift the fondant from your surface and place onto the cake surface. Use your icing bag and buttercream “fur” to pipe a single row of fur around the eyes to secure. Using your prepared food coloring “water color paint” and your fine tip paint brush, carefully paint the dashed lines onto your fondant.
Step 4
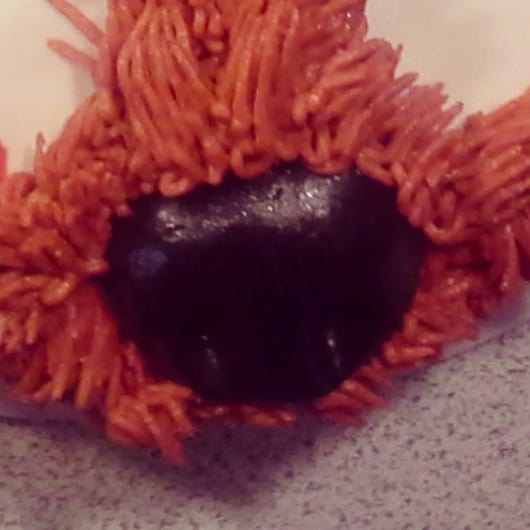
Working the prepared dark brown fondant like play dough, shape into a 1” diameter ball and slightly flatten the top surface. This will become the nose of the fox. Using the handle end of your paint brush, make two small impressions for the nostrils. Gently press the nose into place on the face of your fox.
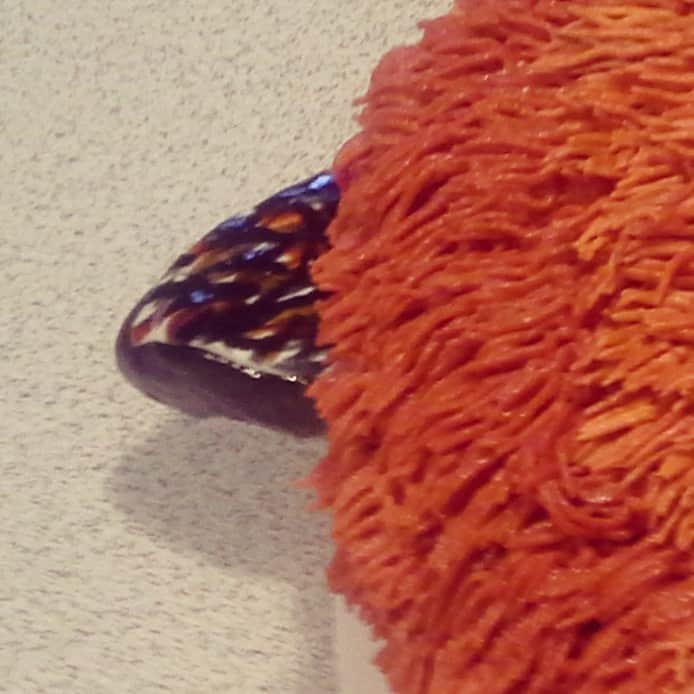
Continue working the additional dark brown fondant like play dough and form the ear shapes. Cut a piece of white fondant into the same shape as the ear you have created but slightly smaller. Layer these pieces onto each dark brown ear. Insert 3 toothpicks into each ear on angle and press toothpicks into the sides of your cake. Again using your “water color paint”, add brush strokes to the whites of the ears to create the look of fur.
Final Step
Stand back and admire your finished fox cake!
Have you watched the video yet?
Danielle @ We Have It All says
Awesome cake! I don’t have that tip.
Angela says
I am in awe of your cake decorating abilities. I have that tip! I use it to put grass on my Easter cupcakes. I think I just found another use for it. 🙂