We’ve all seen those beautiful Paper Wreath tutorials on Pinterest. I have loved them for months but haven’t set aside the time to make one or been able to decide what look I wanted…book pages, bright summer colors, or sheet music. Recently our friends at Staples asked us to go shopping for a few Staples products that we could use to create a great holiday decor hack or DIY project. I knew right away that this was the perfect opportunity for me to try my hand at a holiday version of the paper wreath! #HandmadeHolidays
So I headed to Staples and picked up a few things to create this gorgeous holiday wreath! I could have ordered what I needed online but decided to see what our local store had on hand and found just what I needed.
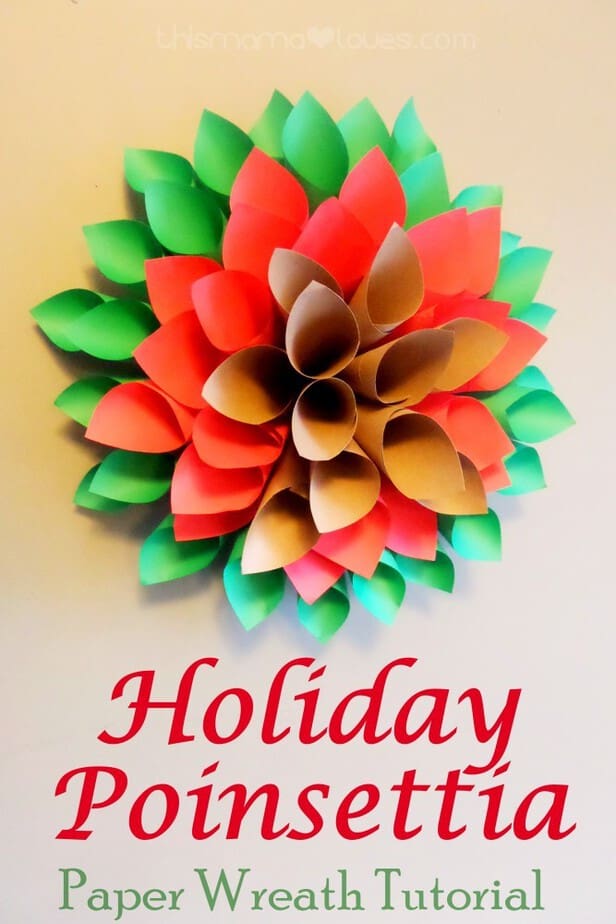
Holiday Poinsettia Paper Wreath Tutorial
Supplies:
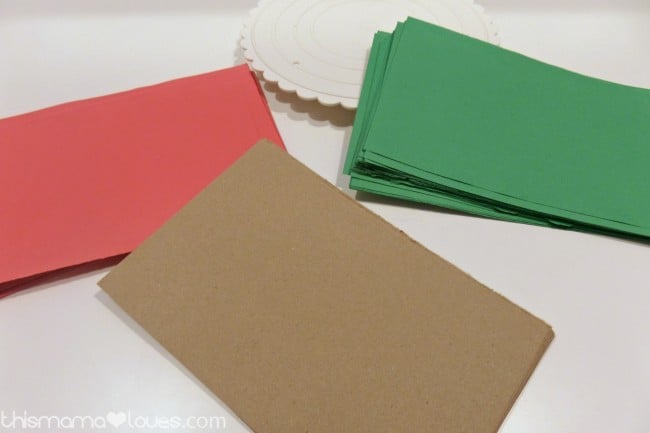
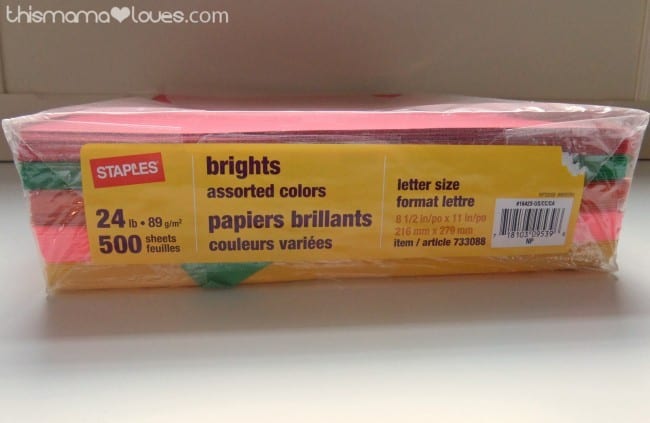
- 1 package of Staples Brights Paper (I chose a package that had several colors including red and green).
- 1 10 pc package brown card stock
- hot glue and glue gun
- scissors
- a cardboard or plastic circle for the base of the wreath (I used a plastic cake plate)
I’ve seen lots of tutorials for the paper wreaths that call for using square sheets. My paper was 8 1/2″ x 11″ and I didn’t want to waste a lot of paper making them into squares so I played a little bit and found that rectangular sheets work just fine too.
If you have a paper cutter, cutting the sheets in half will go rather quickly. If not, you can use scissors or tear them. I used about 30 rectangles of green, 20 red, and 11 brown.
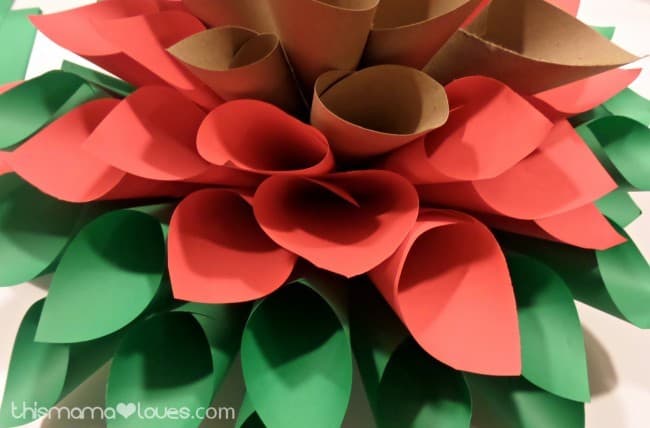
Begin by wrapping each piece of paper into a cone. The top will be open with a pointed tip and the opposite end will be mostly closed. Use a tiny bit of hot glue on the seam to keep the cone from unrolling.
Glue the cones to the round base, leaving about 1″-2″ between each as you add the first layer.
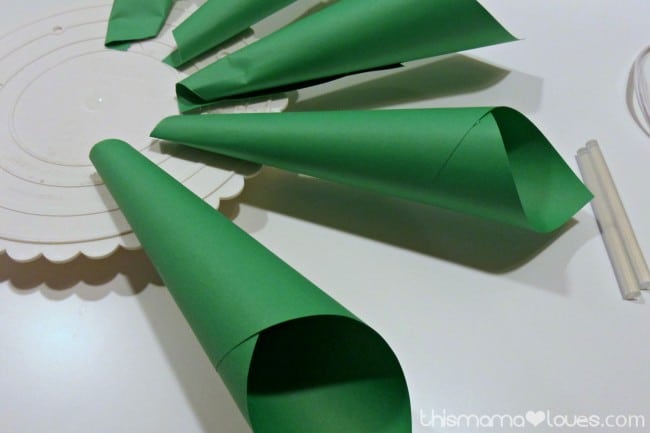
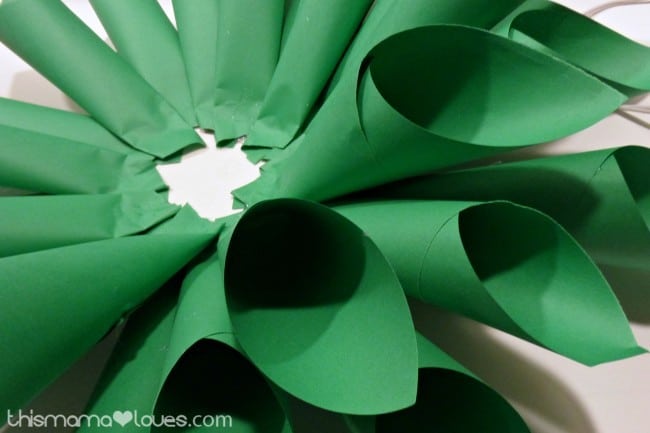
When the first layer is complete add another row of green, placing them in the spaces between the first cones. This will create a layered look. Continue layering the green onto the wreath until you feel you have enough. I did three layers.
Repeat using the red paper cones. I added 3 layers of the red as well to create a nice full look.
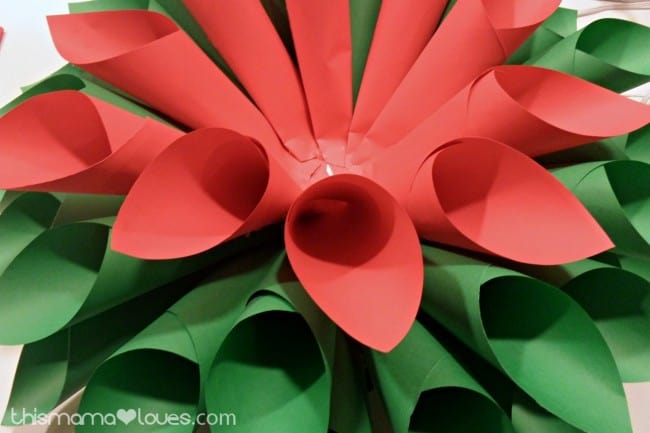
When the red layers are complete and you’ve reached the middle of your flower, finish the wreath by adding the brown cones.
I drilled a tiny hole in the plastic plate I used for a base and tied a ribbon through to hang the wreath. You could also hot glue a ribbon or string onto the back if you’re using cardboard or do not have a drill on hand.
This wreath was fun and easy to make. The kids loved helping with it and decided it looked just like a poinsettia. It will look beautiful in our home for the holidays!
shelly peterson says
What a great idea you came up with, this is really cute.
Jennifer Sikora says
That is so adorable. There is SO much you can do with paper.
Amber Edwards says
I absolutely love this! It looks so fun for the Holidays! Yet so fun to make with the kids!
Melissa Pezza says
This is a wonderful paper craft. I think my daughter would love helping me with this one. Thanks!
Tammilee Tips says
That is adorable. I love paper crafts, looks like it would be fun to do.
Dawn says
That is precious! This would be the perfect thing to do with older crafty kids.
Myrah - Coupon Mamacita says
I think this is just adorable. Paper crafts are really great for adding whimsy to anything.
Jennifer says
That is so cute! I love paper crafts like that.