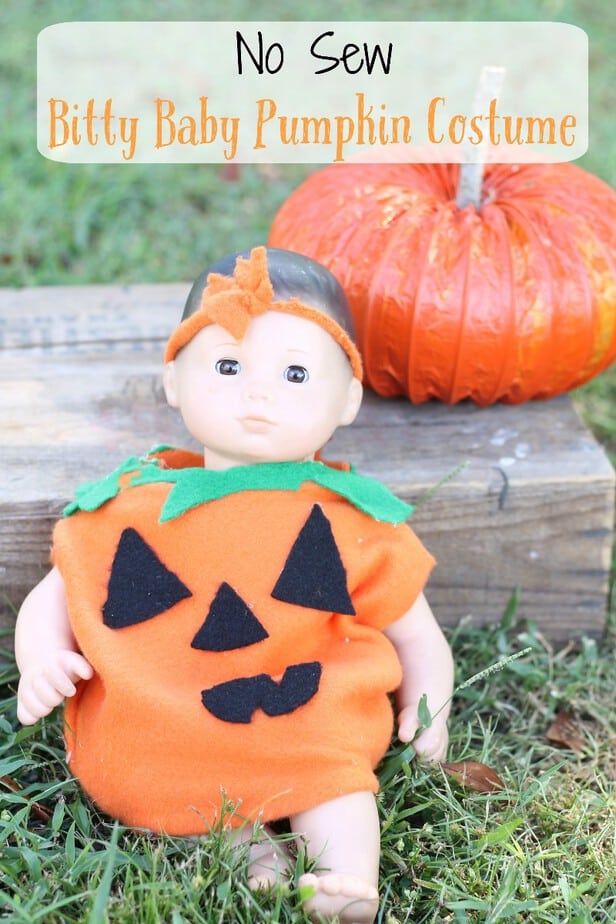
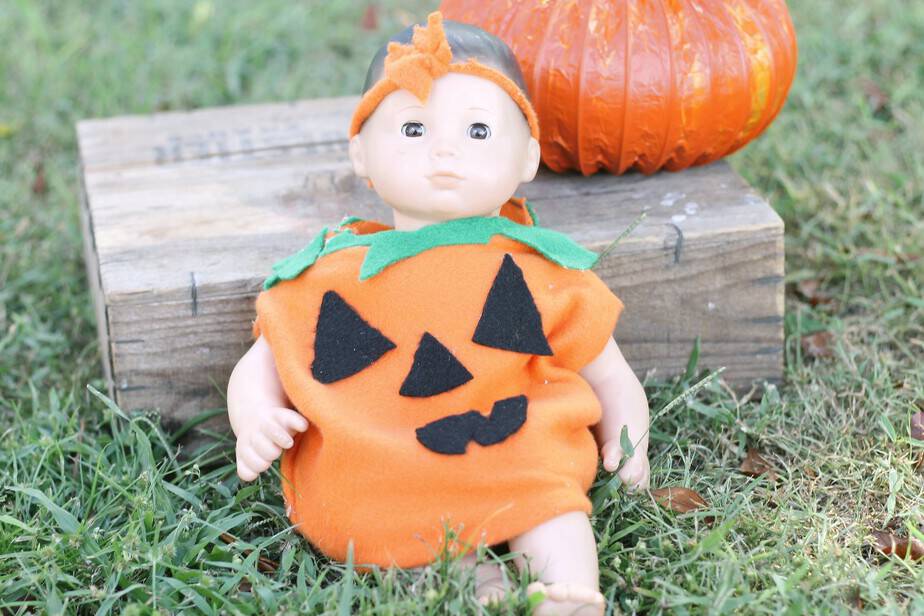
While I have definitely bought into the whole American Girl craze for my own little girl I love to make my own clothes and accessories for them as much as possible for two reasons. 1) Of course it is much cheaper 2) I can customize for colors, season, patterns, etc. My little one asked me a couple days ago to make some costumes for her babies, in a bit of a time crunch I came up with a cute, no sew American Girl costume idea for her beloved Bitty Baby. I searched for tutorials and could not find one so I made my own. After racking my brain for what I could use as a circle template I tried a dinner plate on Bitty Baby and it was the perfect size. This would work for the 18″ dolls as well, as they are slimmer- you just might need to adjust neck and arm holes (and add some pants). This costume could be easily and quickly done up on the sewing machine as well if you prefer.
Supplies Needed:
1/2 Yard orange fleece
small piece black felt
small piece of green feltc
hot glue gun/glue sticks
standard sized dinner plate
scissors
black sharpie marker
Directions:
While you only actually use half of the fleece if you only by 1/4″ it will not be long enough to make your circles.
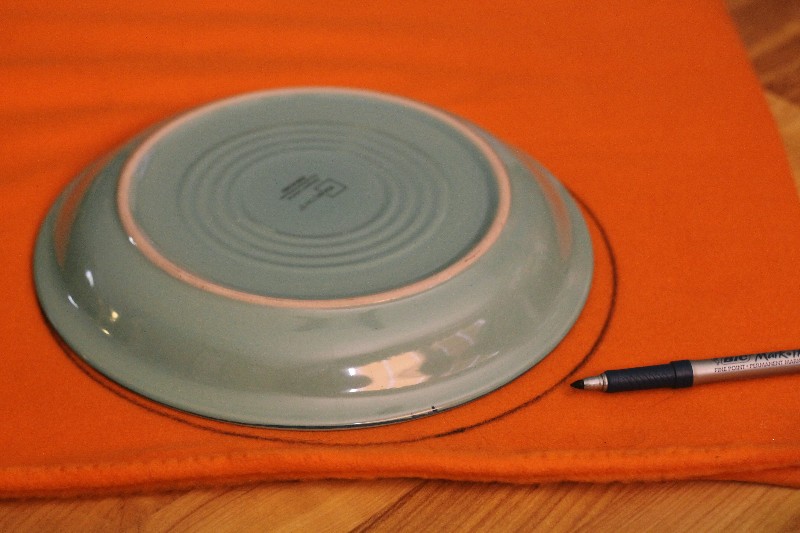
Fold fleece in half, lay dinner plate upside down near the edge, trace around it with a black sharpie.
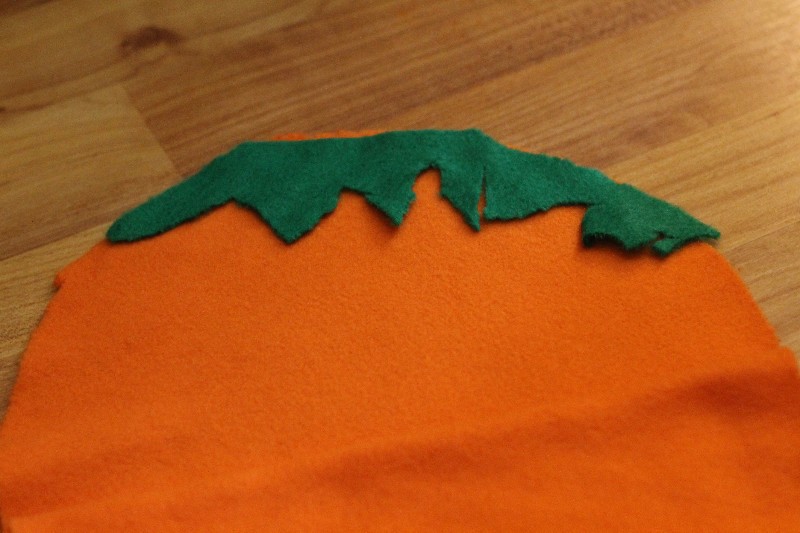
Cut out both pieces of felt along the circle line. Cut a slight curving piece on one side of circle- about 1/4″ for a neckline.
Cut a piece of green felt into a random leaf/vine shape. Apply to neckline as close to the edge of the orange as you can with a bead of hot glue, use craft stick to press into place (this will save your fingers). You can ruffle as you wish to fancy it up a bit. Repeat on the other piece of orange felt.
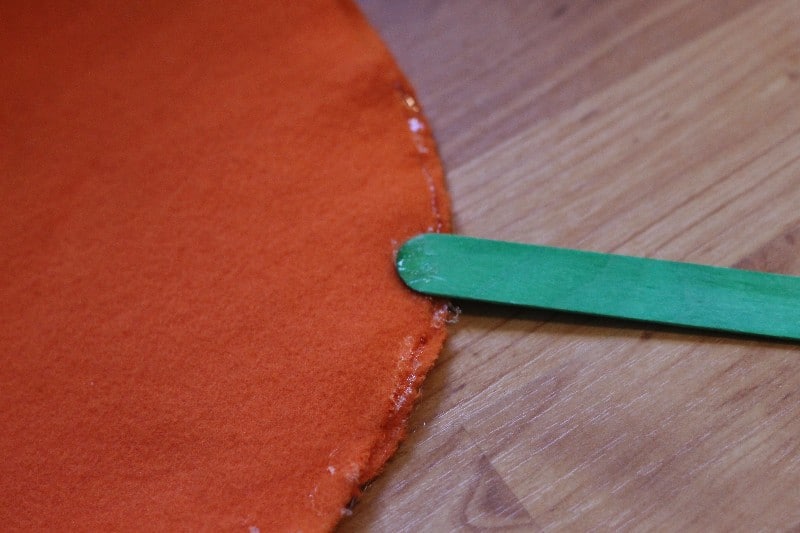
Place your two circles with the “right side” (the side with the leaves) facing inward. You will add a generous bead of hot glue all the way around the inside edges 2″ at a time, pressing firmly with a craft stick (except for the openings that I will share with you). Here are your openings- Leave a 4 1/2 ” opening where the leaves are for your dolls head, as well as a 5″ opening at the bottom. Glue 2″ from neck opening down on each side, leave the next 3″ unglued for armholes. Allow glue to set and dry for at least 15 minutes or when you turn it inside right it will tear apart.
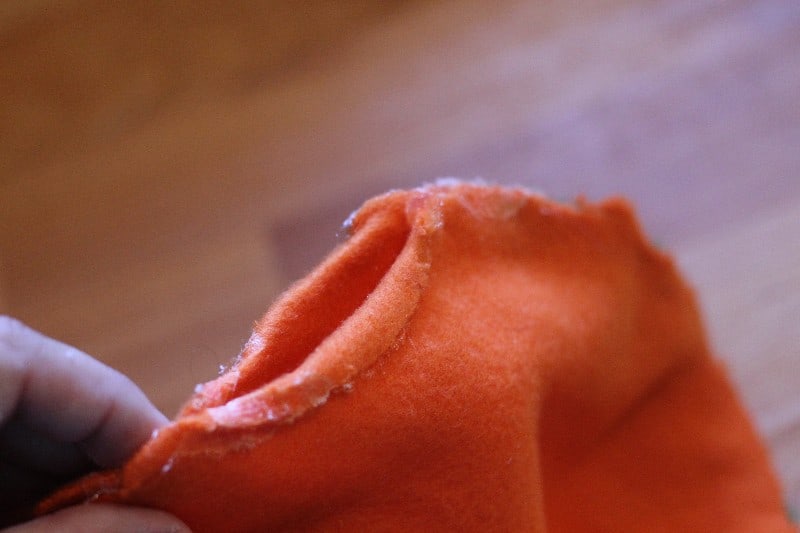
Before turning inside right you want to finish off the openings, apply a thin bead of hot glue to the edges and fold over a 1/4″ seam, pressing with your stick firmly. Allow to cool and harden.
Trim away excess glue with a pair of scissors then turn costume correct side out.
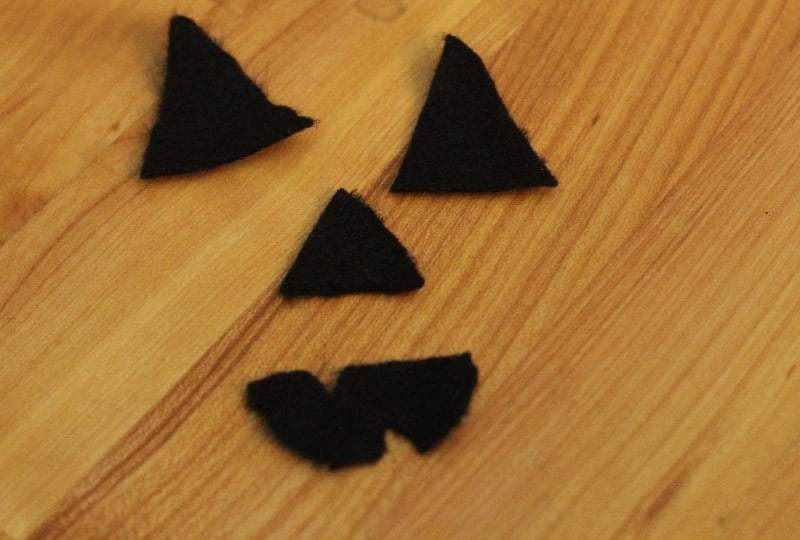
Cut a eyes, nose, and a friendly mouth from black felt- glue onto front side of pumpkin costume.
Your little one will love this fun costume and it took me less than 3o minutes to put together once I had my supplies gathered- that was even with my trial and error.
