When my second daughter was born, I met a woman who was what we would have called a “tree hugger” You know the kind…the people who are always talking about what is best for our planet, how we are killing our Mother Earth and how living a greener life was “THE” way to live. At the time, I ignored her, writing her off to being one of those “crunchy” moms who probably milked her own cows, made everything from scratch and home schooled her kids. Fast forward about 5 years and I became that tree hugging lady on the block!
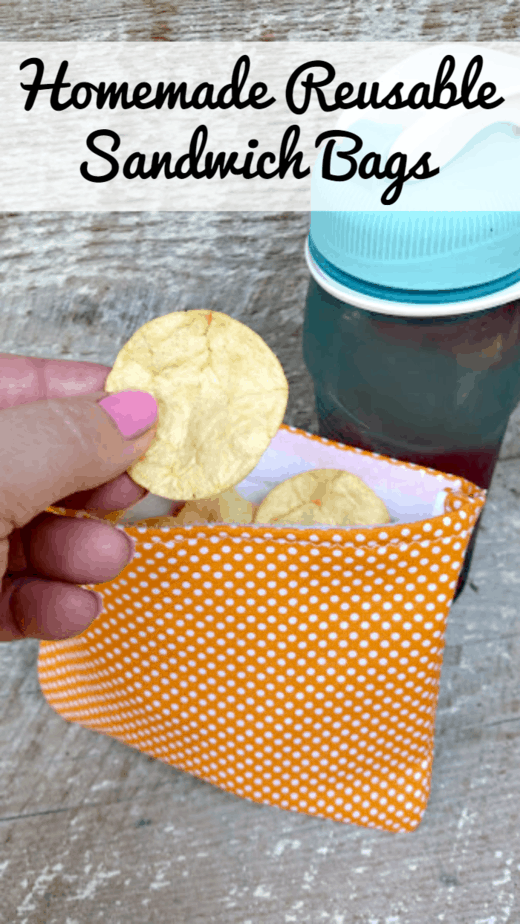
Over the past several years, I have learned so much about living a more sustainable lifestyle. We have energy efficient appliances, we recycle, I make a lot of my own cleaning supplies and use reusable goods as often as possible. While the kids are in school, we pack their lunches. I hate how expensive (and wasteful) plastic baggies are for the kids sandwiches and snacks. I have bought my fair share of reusable bags and felt pretty good about saving the planet from any additional waste. And then it occurred to me…I could take it a step further and make my own Homemade Reusable Sandwich Bags! They are cheaper to make and I can choose my own colors and prints! Are you ready to make your own Homemade Reusable Sandwich Bags? Let’s go!
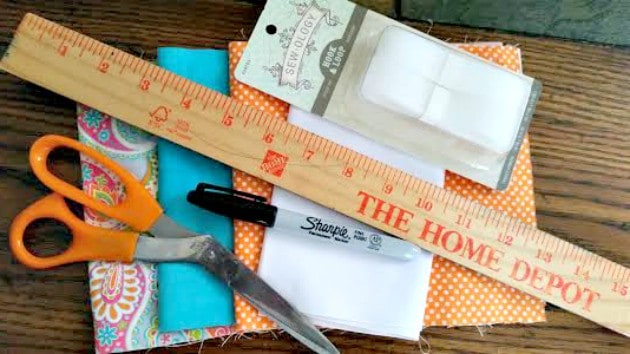
Homemade Reusable Sandwich Bags
Supplies:
- 1/8 of a yard of cotton fabric
- 1/8 of a yard of waterproof fabric
- Velcro
- Matching thread
- Scissors
- Ruler or yardstick
- Fabric marker
Directions:

Step One: Measure your cotton and waterproof fabrics. My bags are 6″ x 7.5″, but I also make smaller bags for snacks like Goldfish or pretzel sticks. You will have four pieces; 2 of your cotton and 2 of your waterproof fabric.
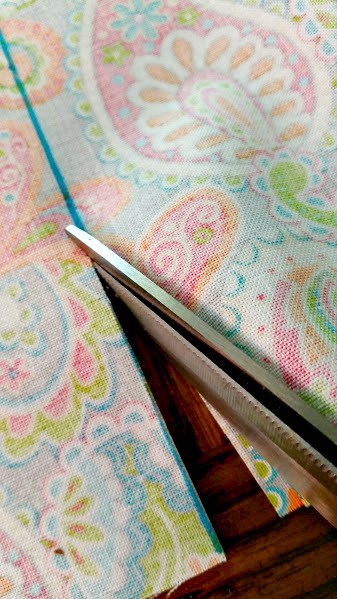
Step Two: Cut your fabrics.
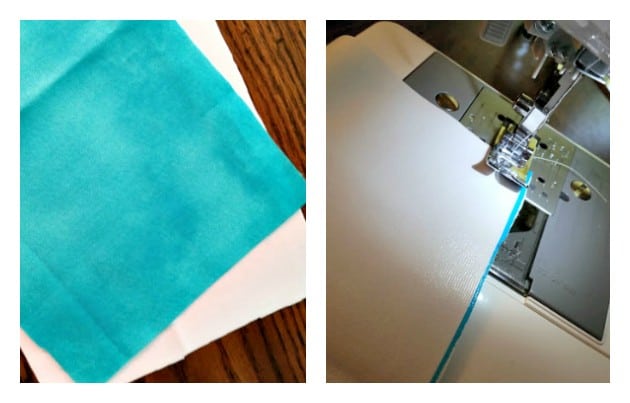
Step Three: Because the waterproof fabric can be slick, I attach one piece of the cotton to one piece of the waterproof fabrics, wrong sides touching. Repeat for the other pieces. This ensures an even reusable bag!
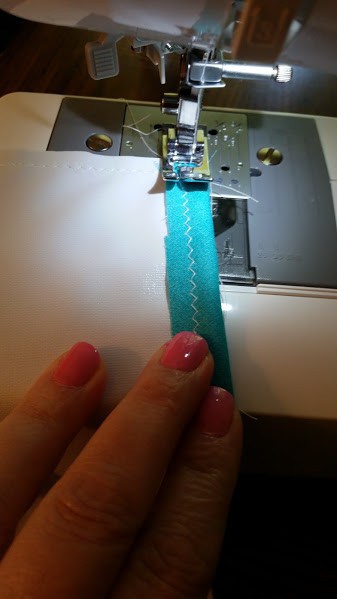
Step Four: Fold down the top edge of each piece. You will fold the right side down on the wrong side. Stitch this down. I use a zig-zag stitch because it’s fun!
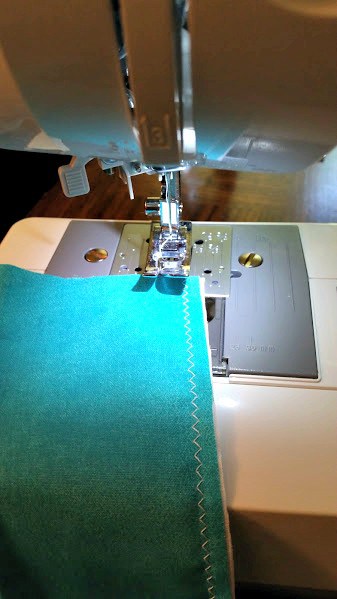
Step Five: With right sides of your cotton fabric touching, Sew the sides and bottom. Turn right side out.
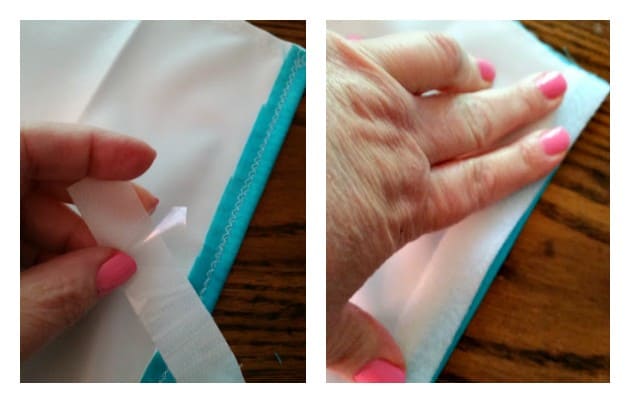
Step Six: Apply the Velcro to the inside of your bag. Line the Velcro with the top edge of each side of the bag. Make sure you cut your Velcro a bit short on either side. The bags seem to closer better if you do this. Tack your Velcro down with a zig-zag stitch.
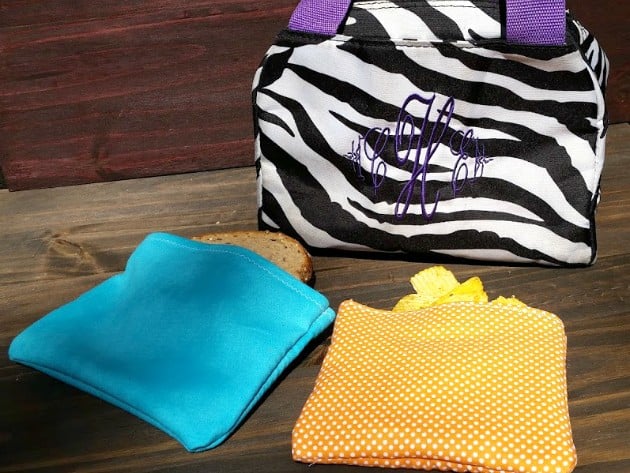
Step Seven: Fill your bags with goodies and enjoy!
Ava says
How do you wash these?
Brett says
We hand wash them with a little bit of Dawn dish soap. I’ve also popped them into a lingerie bag and done a gentle wash cycle, with very little detergent and an extra rinse cycle.
Jeanne Smith says
Thanks for this neat idea! It would be neat to make a batch of these for your children and to give them to mothers for gifts, as well.
Jeanne Smith says
This is a very clever idea, and environmentally friendly, too. It would be fun to sew a lot of these with a group of friends. Thanks for the idea!