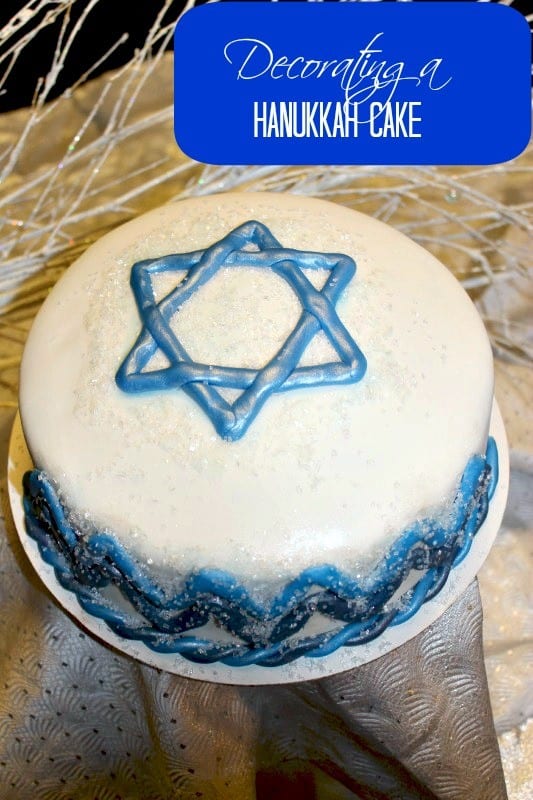
This is a fairly simple tutorial for decorating a Hanukkah cake and is a good cake to try for those just learning to work with fondant.
This is what I used:
2 – 8” round cakes (completely cooled then frozen for approximately 30 minutes)
9” cardboard cake base
Prepared buttercream frosting (in white)
Prepared fondant frosting (in white & two shades of blue)
Icing bag with tip, insert, and #2 round tip
Fine tip paint brush
Silicone rolling pin (for rolling out fondant)
Fondant smoother
Spatula (for spreading buttercream base coat)
Powdered sugar (for rolling out fondant to prevent sticking to counter & rolling pin)
Blue & silver shimmer powder
Clear sugar crystals
Step 1
Place your bottom 8” round on your cardboard cake base. Cover the top generously with your white butter cream. Add your next layer and with your spatula spread a thin layer of white buttercream over the top and sides of both layers. This layer of frosting does not need to be extremely smooth as it will be covered with your fondant.
Step 2
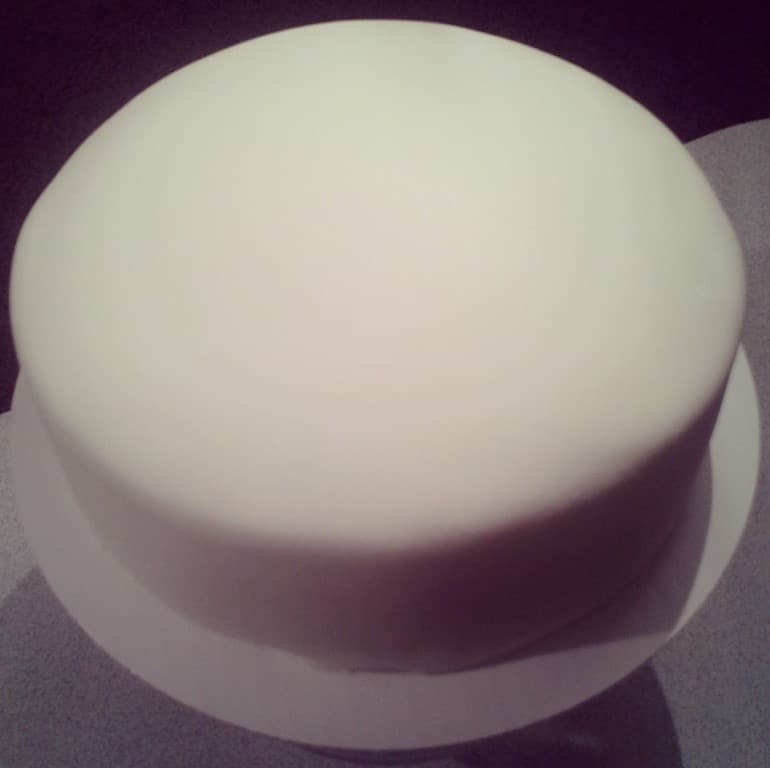
Carefully roll your white fondant out on your powdered sugar covered surface. You should roll a little to a time, rotating the fondant and spreading powdered sugar underneath to make sure it does not stick to your surface. Once it is rolled out large enough to cover your entire cake, roll it onto your rolling pin and lay it over the cake.
Using the fondant smoothing tool, gently press the fondant into the butercream. Work your way from the top center to the outside edges and then down the sides of the cake. You want to be careful not to tear the fondant but need to be sure to smooth all air bubbles out. Once smooth, trim extra fondant from the bottom and gently push the edge of the fondant under the cake with your knife.
Step 3
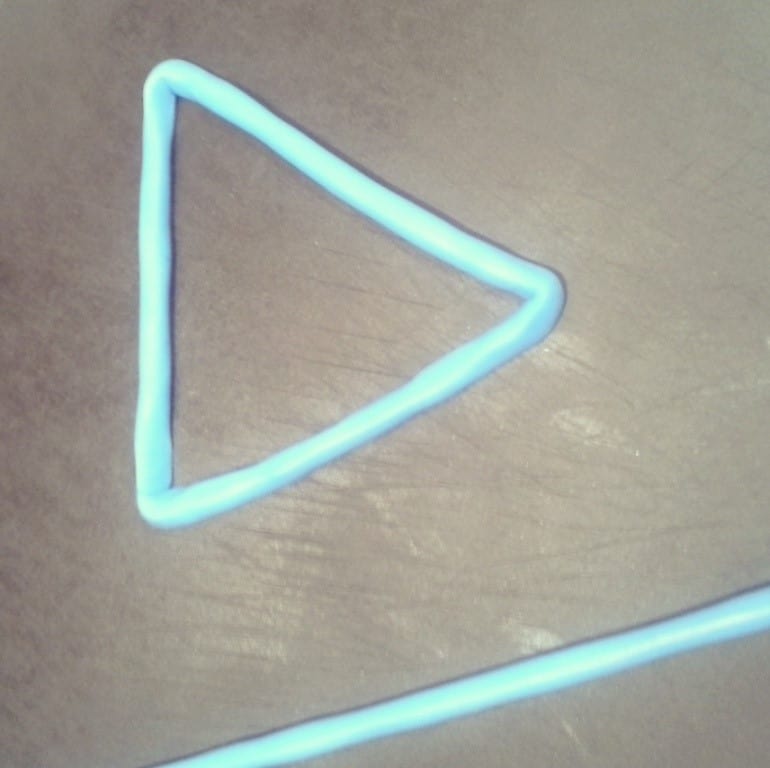
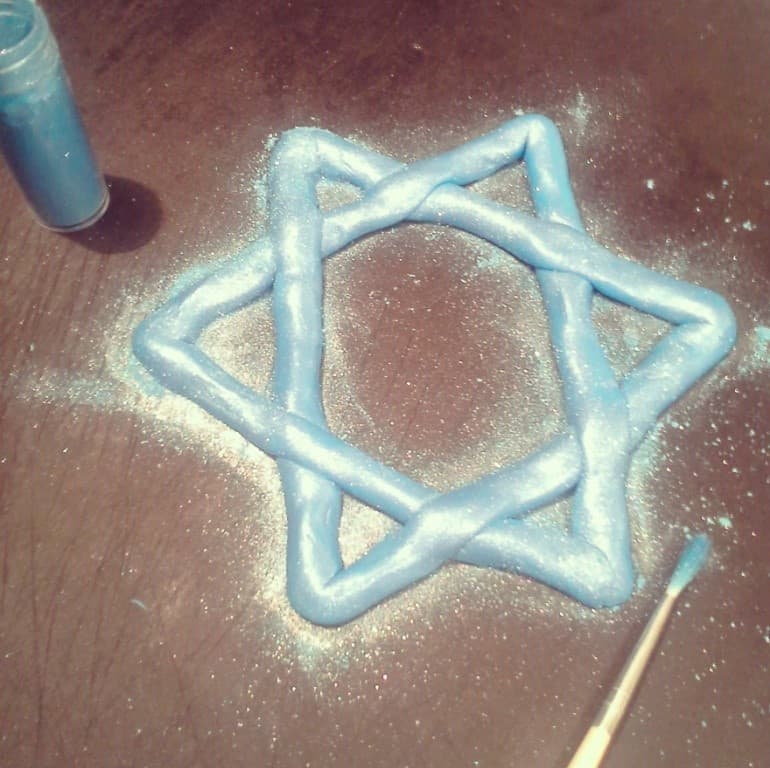
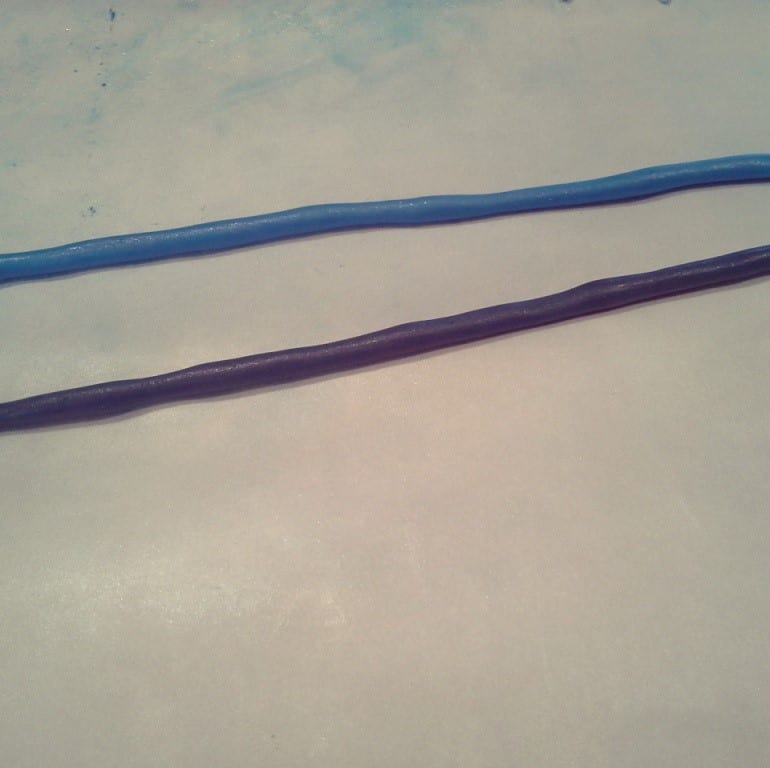
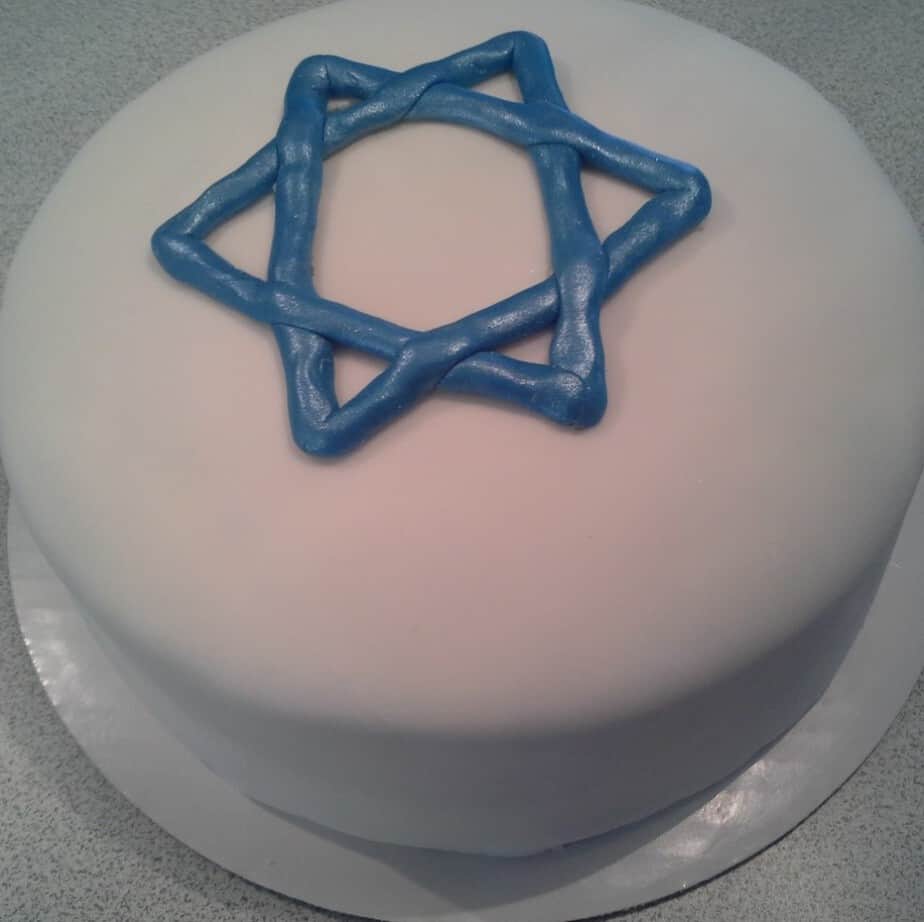
Begin rolling your lighter blue fondant into a long stick like shape. Rolling it between your hand and a cutting board as you would play dough is the easiest way. Once it is long enough, divide it into two even pieces and weave together to create the Star of David for the top of the cake. Using your paint brush, dust the Star with your blue shimmer powder.
Step 4
Roll out two more lengths of light blue fondant as done in Step 3 and 2 dark blue the same lengths as well. Dust these with blue shimmer powder as well.
Step 5
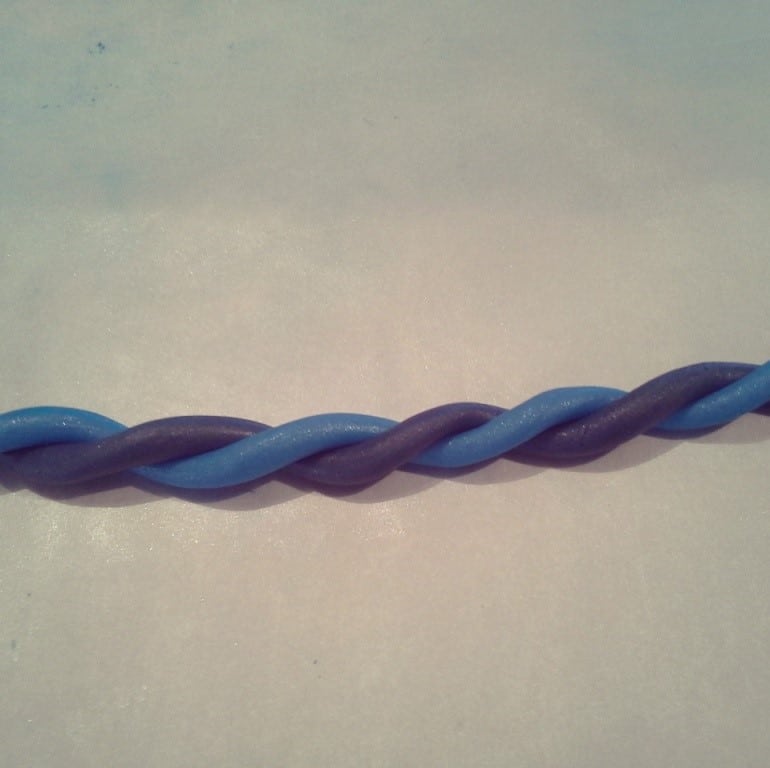
Twist two of the strands together to create a rope of the two colors.
Step 6
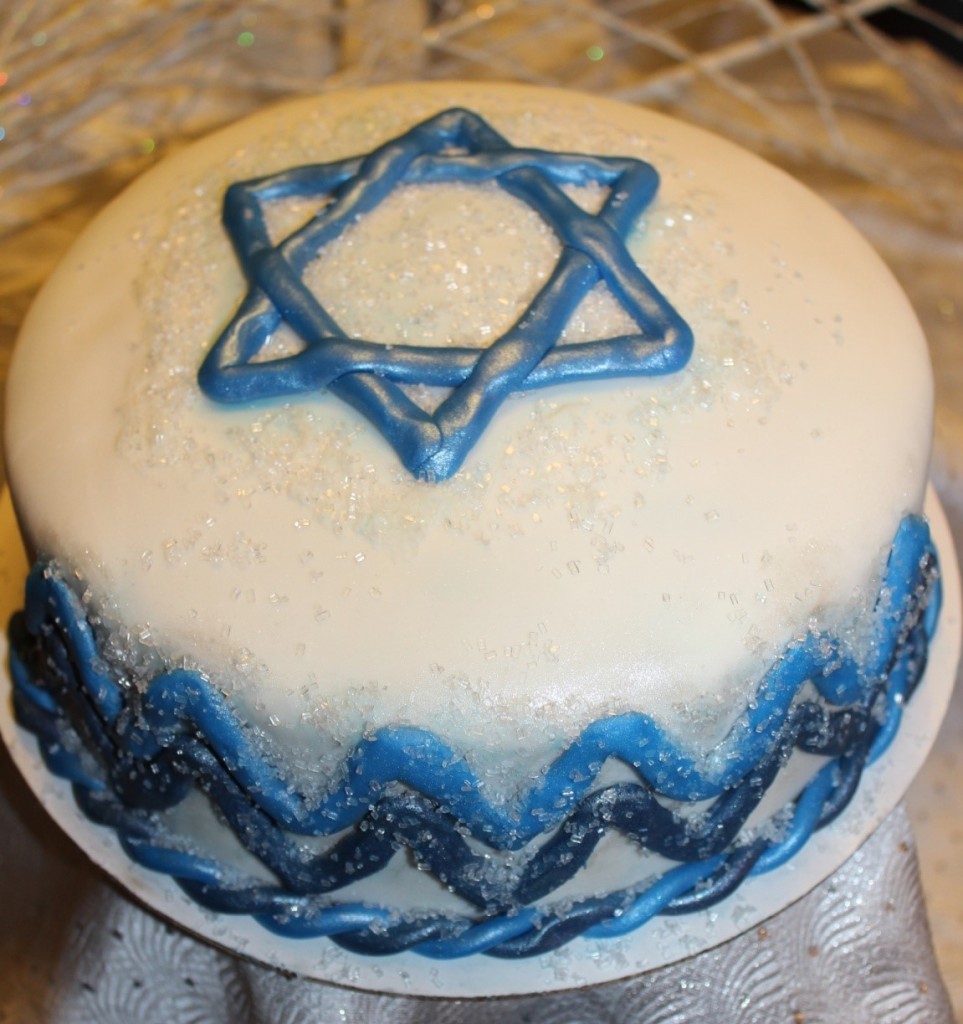
Now you will begin attaching your blue accents to the white fondant with your buttercream and #2 tip. First attach the Star to the top by piping a small amount of buttercream to the back and placing it where you wish on the top of the cake (I centered mine).
Pipe a small line of buttercream around the base of the cake and lay the two tone rope of fondant around the base. Carefully pipe buttercream on the back of the other two rolled out strands of blue fondant and arrange them in a “chevron” pattern around the sides of the cake. Gently press to secure and slightly flatten the rounded strand.
Finish off the cake by adding clear sugar crystals and silver shimmer powder to accent the blue details. This is optional but adds a nice winter touch!
Danielle @ We Have It All says
I’m scared to death to try fondant… It seems so intimidating.