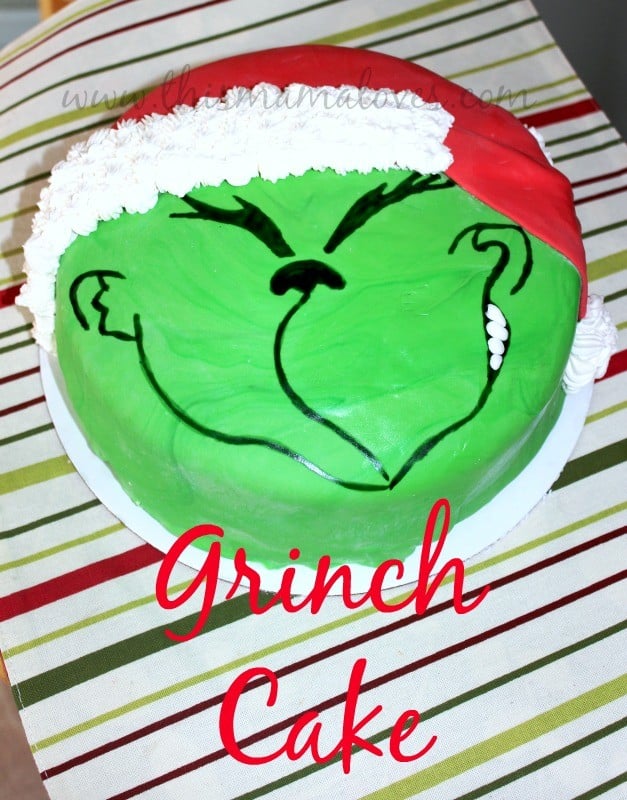
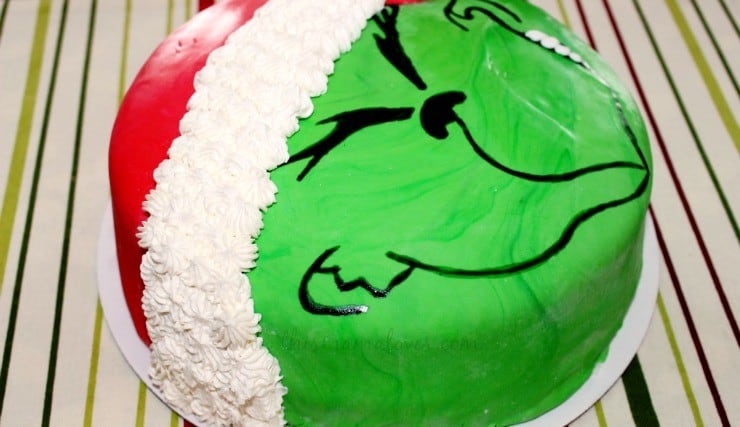
How fun is this guy? This Grinch Cake is not only adorable and fun, but quite simple to create!

This is what you’ll need.
Ingredients for Grinch Cake:
- 2 – 8” round cakes (completely cooled then frozen for approximately 30 minutes)
- 9” cardboard cake base
- Prepared buttercream frosting (in white)
- Prepared fondant frosting (in green & red) (Satin Ice. Save yourself the time)
- Icing bag with tip, insert, and large star tip & #2 round tip
- Fine tip paint brush
- Silicone rolling pin (for rolling out fondant)
- Fondant smoother
- Spatula (for spreading buttercream base coat)
- Powdered sugar (for rolling out fondant to prevent sticking to counter & rolling pin)
- Green food coloring
- Vanilla
Step 1
Place your bottom 8” round on your cardboard cake base. Cover the top generously with your white butter cream. Add your next layer and with your spatula spread a thin layer of white buttercream over the top and sides of both layers. This layer of frosting does not need to be extremely smooth as it will be covered with your fondant.
Step 2
Carefully roll your green fondant out on your powdered sugar covered surface. You should roll a little to a time, rotating the fondant and spreading powdered sugar underneath to make sure it does not stick to your surface. Once it is rolled out large enough to cover your entire cake, roll it onto your rolling pin and lay it over the cake.
Step 3
Carefully roll your red fondant out on your powdered sugar covered surface. This will be rolled out to create the “Santa hat” so it will not be round. the hat does not have to be smooth or perfect. You want it to look as though he is wearing the hat and the tip is flopped over, this is where you can use artistic interpretation. I LOVE when things don’t have to be perfect!!
Step 4
Once the red is laid in place, begin piping the white buttercream onto the cake using the star tip. This will be used to add the furry band to the hat and the furry ball at the tip of the hat.
Step 5
Mix together a small amount of green gel food coloring with a few drops of vanilla to create a watercolor type paint. Use a fine tip paint brush to paint on the face of the Grinch. You can create the same adorable face you see here or get creative! You do want this green to be slightly darker than the fondant. Allow the “paint” to dry.
Step 6
Finally, change your star tip to a #2 round tip and carefully pipe the teeth onto the face of Grinch between the lines you painted on.

Check out our DIY Grinch Crafts and Recipes post, Grinch Cookie Pops and Grinch Vase Craft!
Cindy Merrill says
Looks like you had lots of fun making this cake! This would cute in a cup cake version, maybe for a kid’s birthday party.
Autum says
What a fun cake! This would be great to make as a tradition every Christmas with a showing of the movie. 🙂
Allison Downes says
That is a really cute cake! Thank you for sharing.