Slime is apparently never going to stop being awesome and fun for kids to make. And perhaps their adults. Which is ok. But I can tell you that the more my kids make slime, the more they want to make… well, more slime. And then more. Different kinds of slime. We’ve tried oodles. Edible slime…fluffy slime, you name it, we’ve attempted it. Usually with success. Today we’re sharing a mystery color homemade slime recipe that is made with two different slime recipes, a clear slime and a white slime.
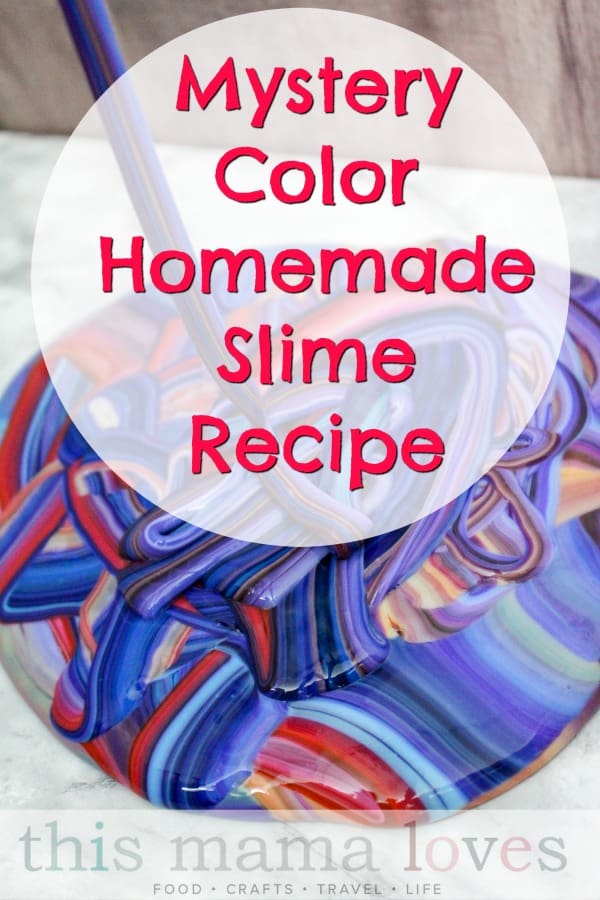
Mystery Color Homemade Slime Recipe
Ingredients:
- 1 airtight container (In our house, we have some set aside for slime purposes. I don’t share my good food storage containers for slime!!)
- 1 5 oz bottle of clear glue
- 5 oz white glue
- 1 cup water (divided into two ½ cup portions)
- 1 tsp baking soda (divided into two ½ tsp portions)
- 2 tbsp contact solution (divided into two 1 tbsp portions)
- Food coloring – any colors – we used neon food colors for this batch
- Small bowl(s)
Instructions:
**IMPORTANT** This slime is made with two different slime recipes, a clear slime and a white slime.
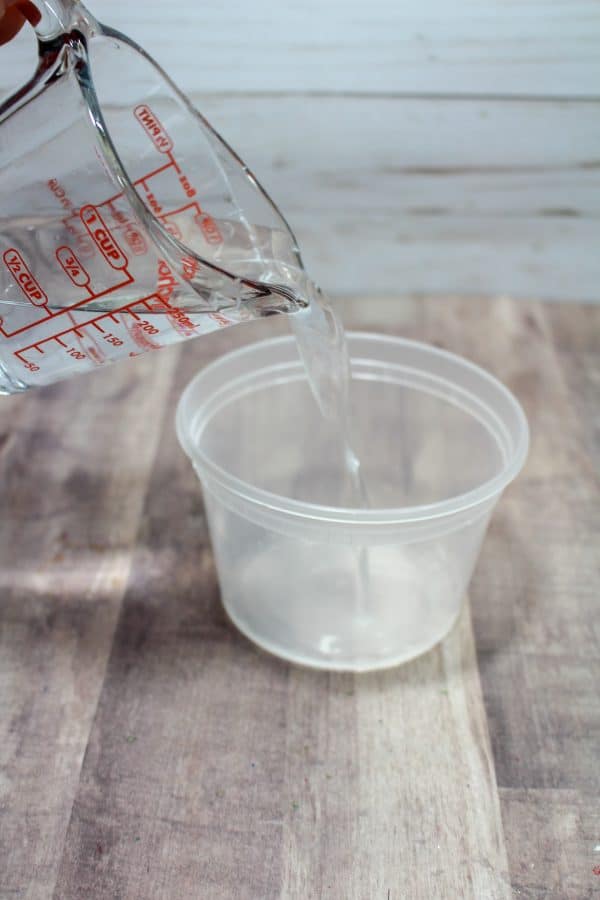
In a small container, pour ½ cup of water.
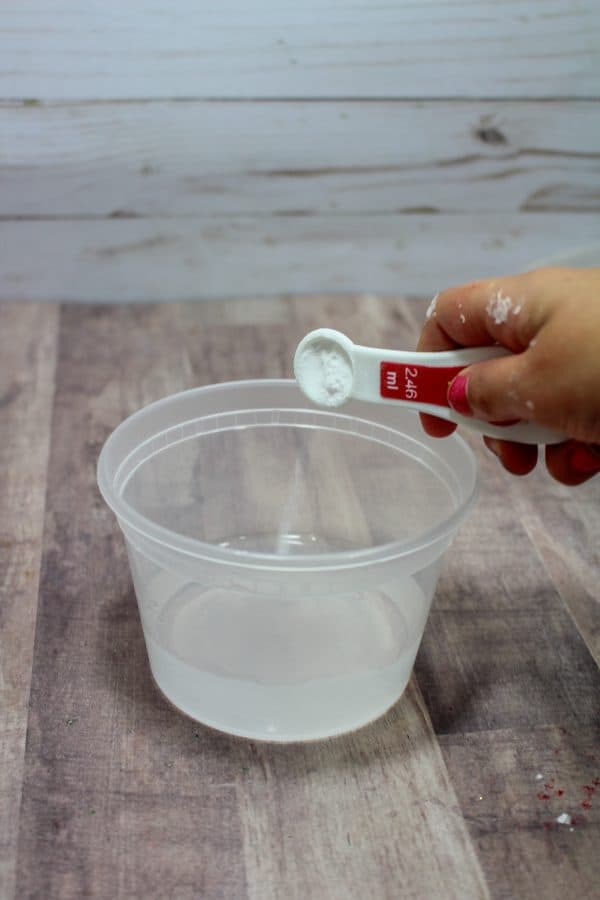
Add ½ tsp of baking soda and 1 tbsp of contact solution.
Pour in 5 oz of clear glue and allow it to sit untouched while you make the rest of your slime.
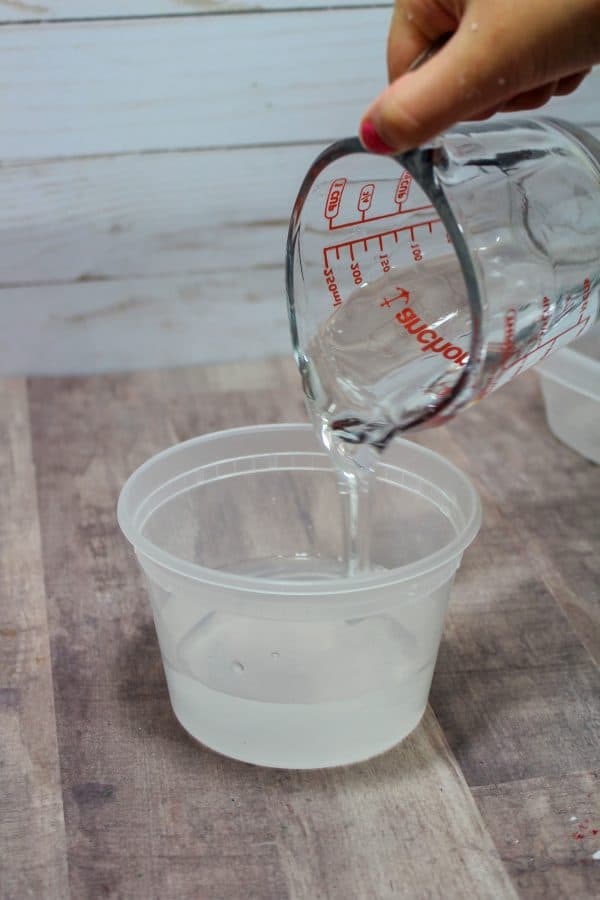
Pour 5 oz of white glue into a second container.
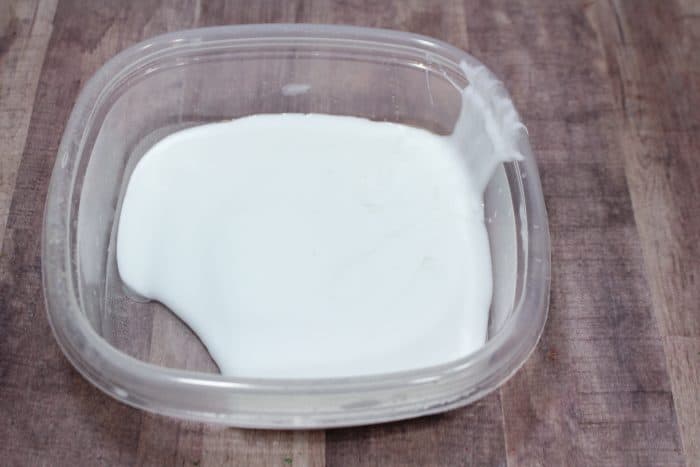
Add ½ cup of water and stir.
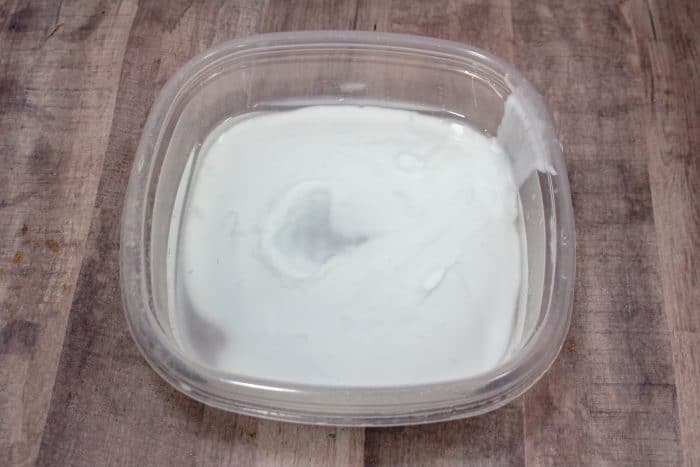
Pour ½ tsp of baking soda and stir again.
Finally, mix 1 tbsp of contact solution. Your slime will begin to form immediately.
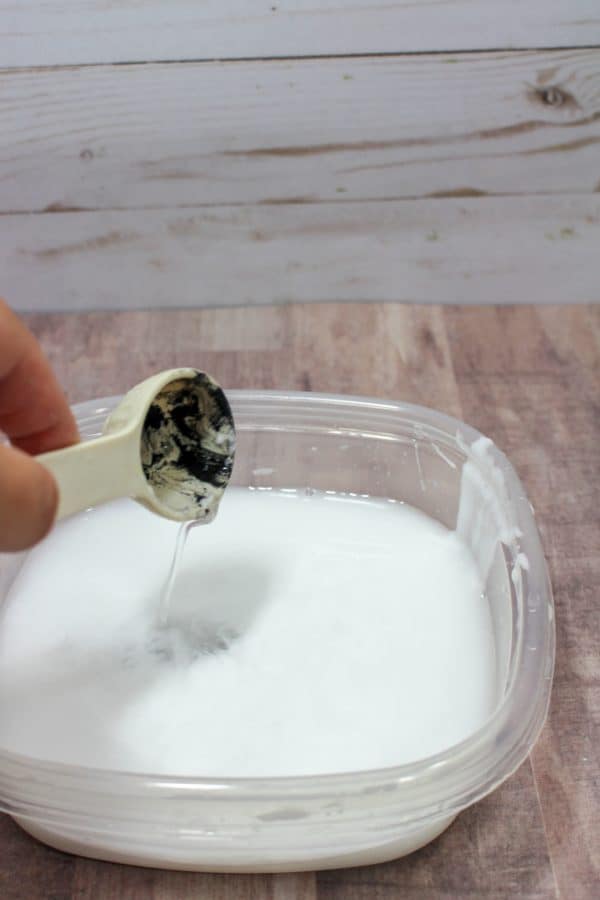
Knead it until fully formed.
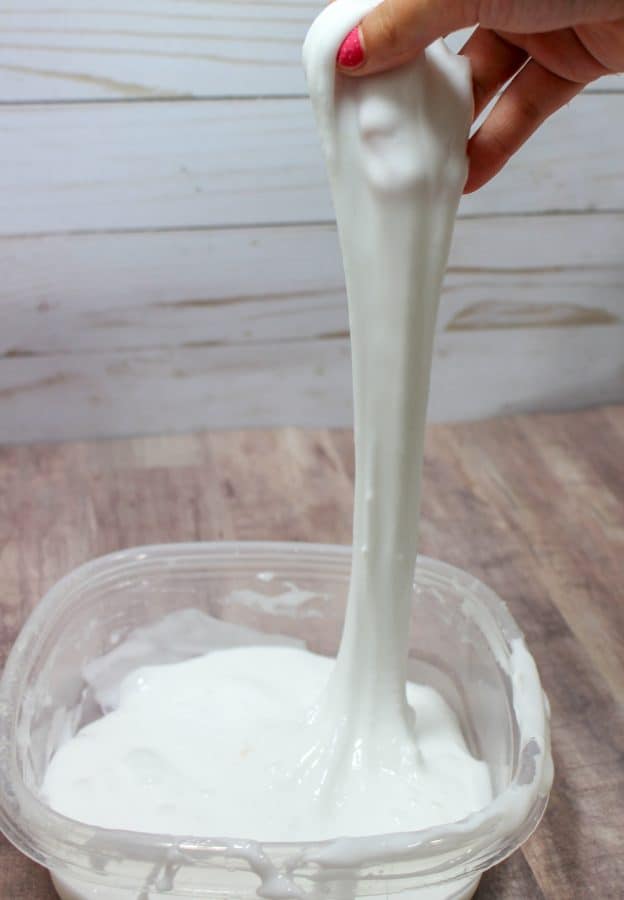
Place in the bottom of a container with a lid that you will use for storing.
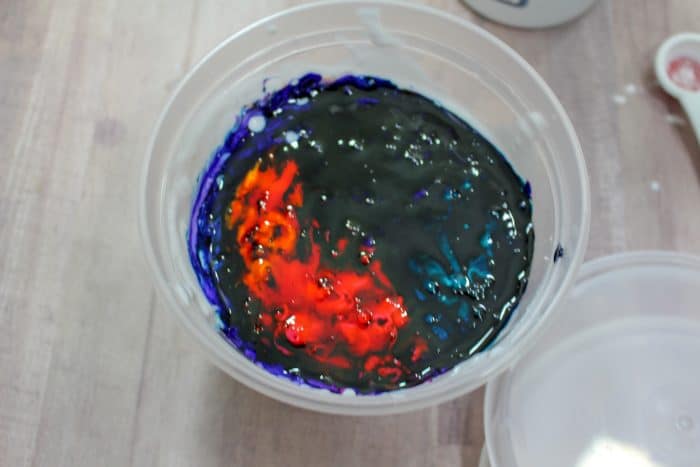
Cover the top of the slime with whatever colors of food coloring you want to use. Use a knife or a spoon to make sure that it is fully covered. (You can leave some white areas if you want some white ribbons!)
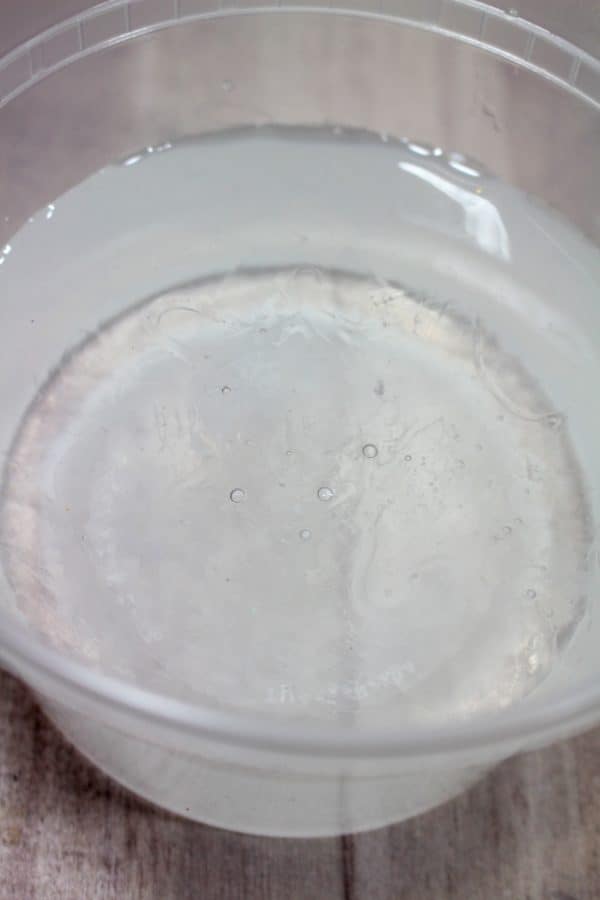
Get your container of clear slime – it will be ready now. Pull it out and knead. You may need to add a bit more baking soda (if it is not thick enough) or contact solution (if it is still sticky). Add as needed.
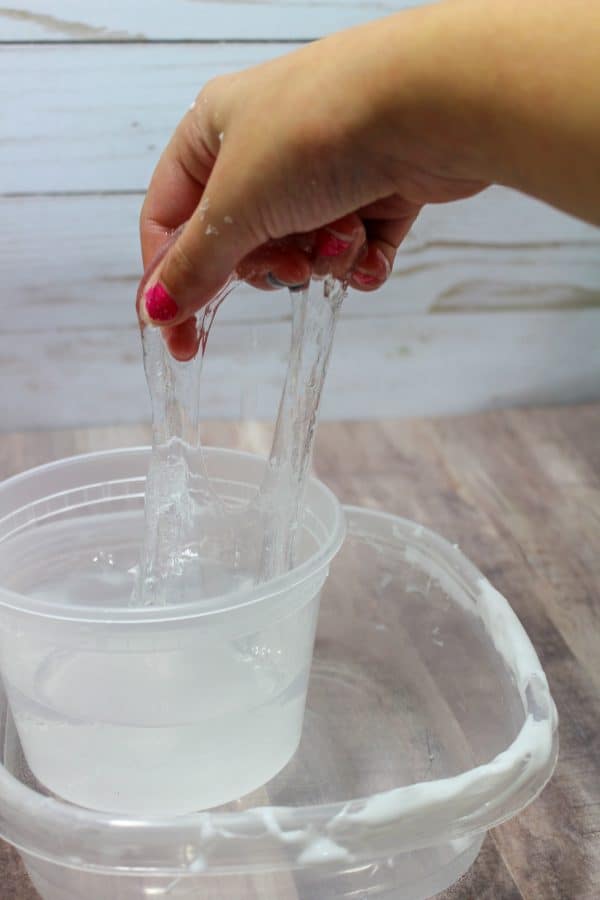
Once it has formed fully, spread the clear slime on top of the food coloring and white slime.
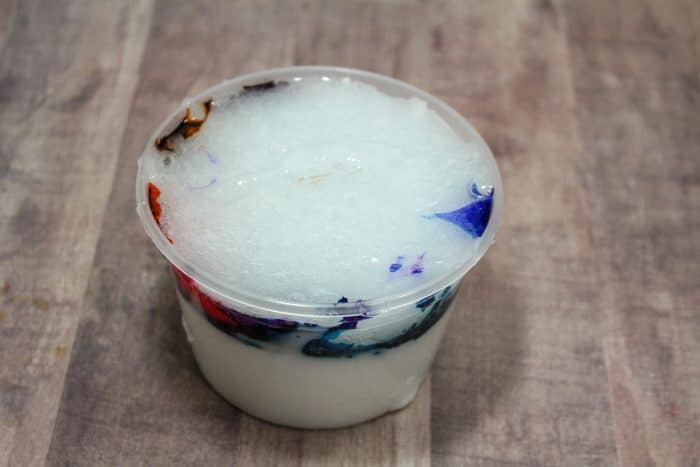
Cover and let it sit for 24 hours.
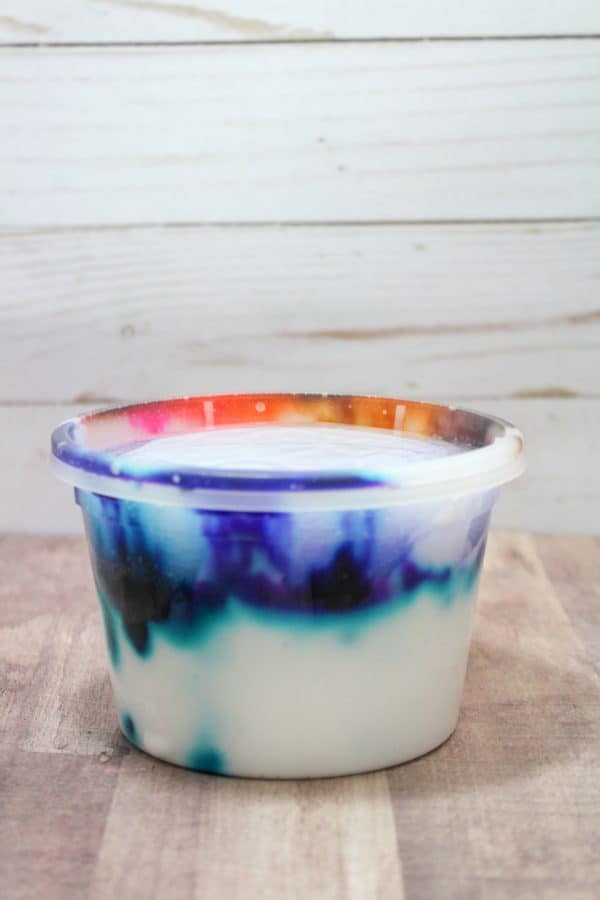
After a few hours you will begin to see the colors drop.
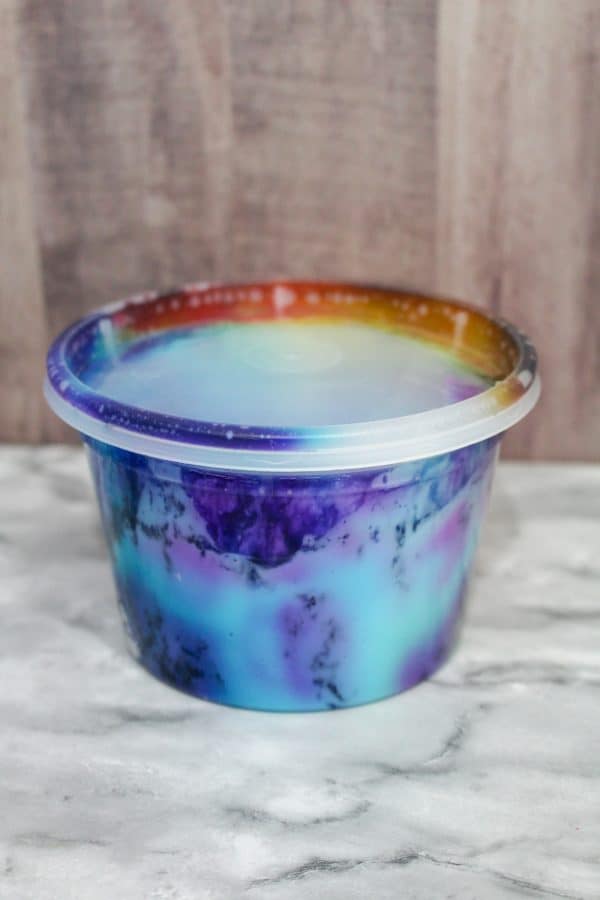
After 24 hours, your slime will be ready. This is the exciting part!
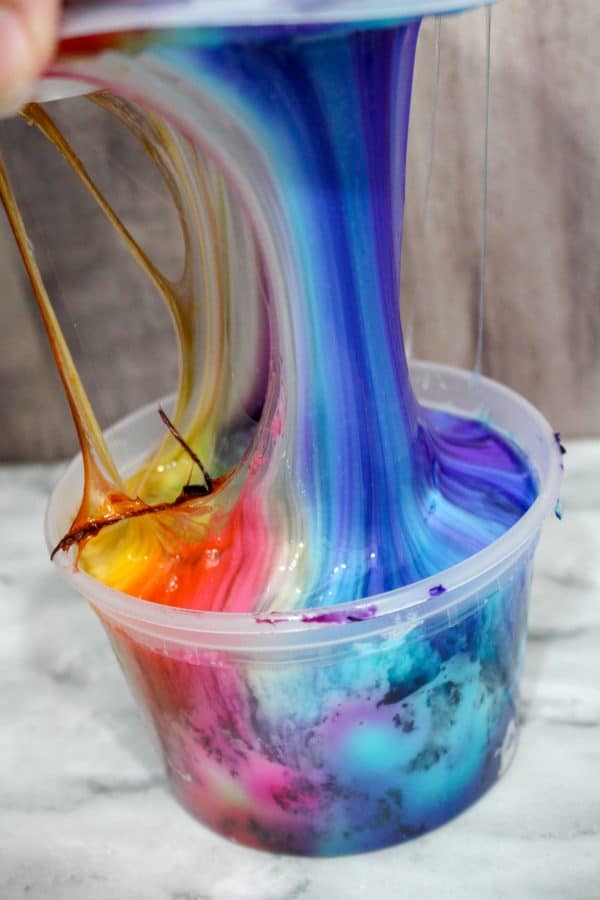
Pull your slime out and it will be in beautiful, multicolored ribbons! No two slimes can ever be the same, with different color combinations and patterns done on the top. The clear slime that you put to coat the colors, give the slime a beautiful shine.
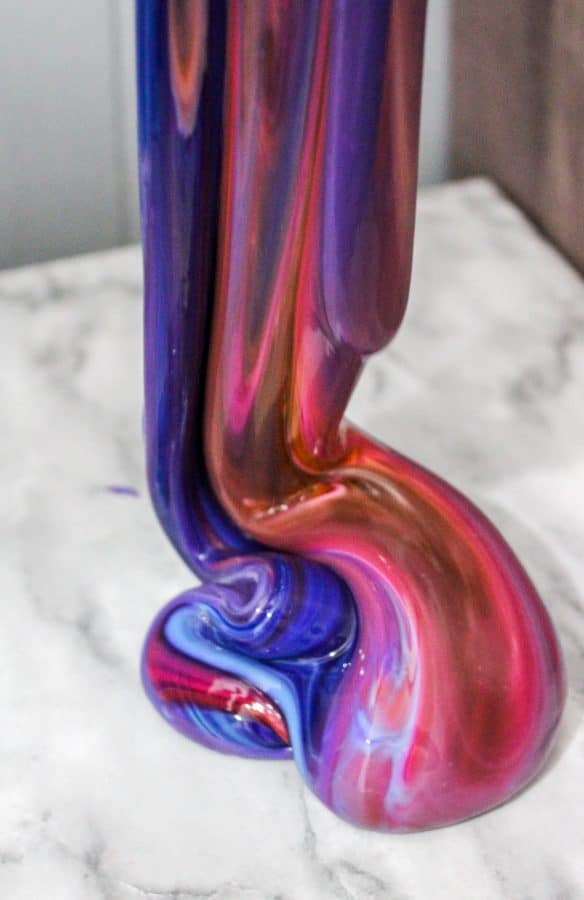
Eventually after playing with the slime, it will begin to form a solid color.
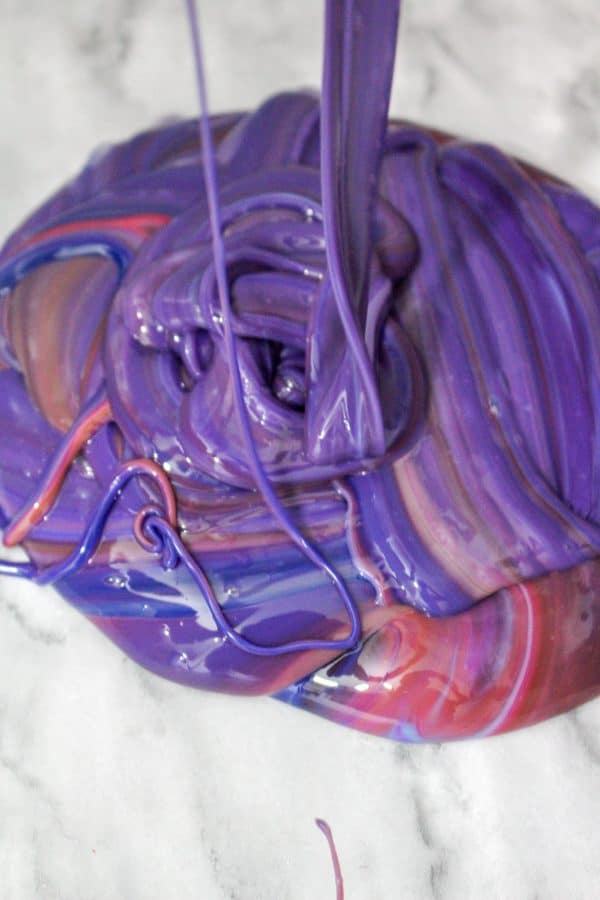
The final color is a mystery when you make it. We have had some turn out to be beautiful purples (this one turned purple!), blues, pinks and even an almost black color. You can after add glitter if you want or keep it a solid color.
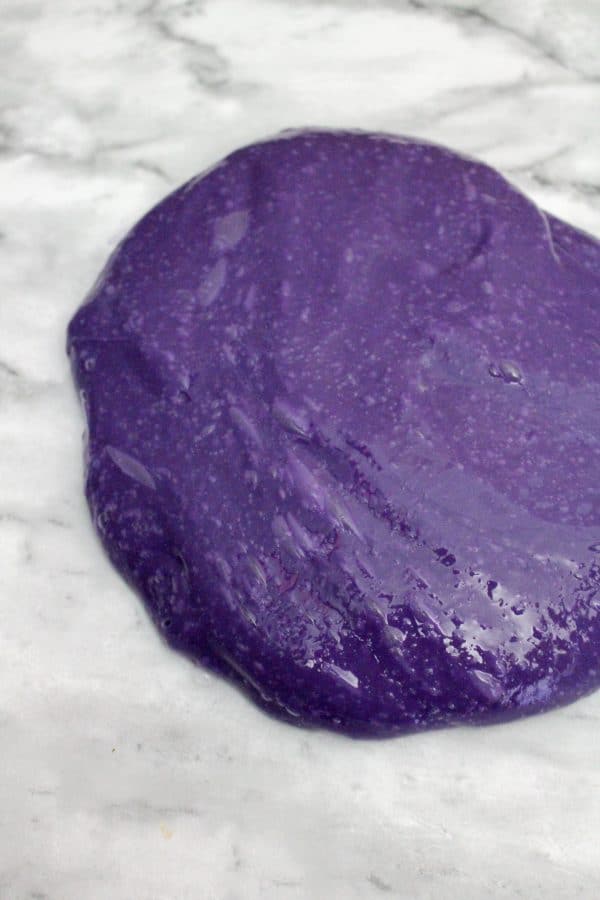
Store in an airtight container.
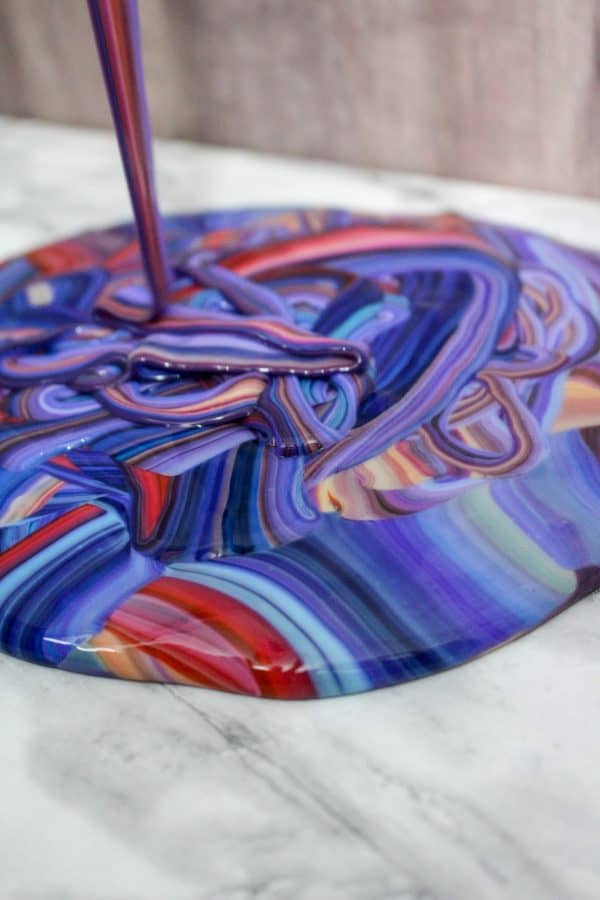
What color will your homemade slime turn out to be? I can’t wait to hear!
Need more slime fun? Try our friends’ recipes for homemade slime: Glow in the Dark Slime, Sprinkle Slime, Fluffy Slime, Sand Slime, Nutella Slime and more!
Mystery Color Homemade Slime Recipe
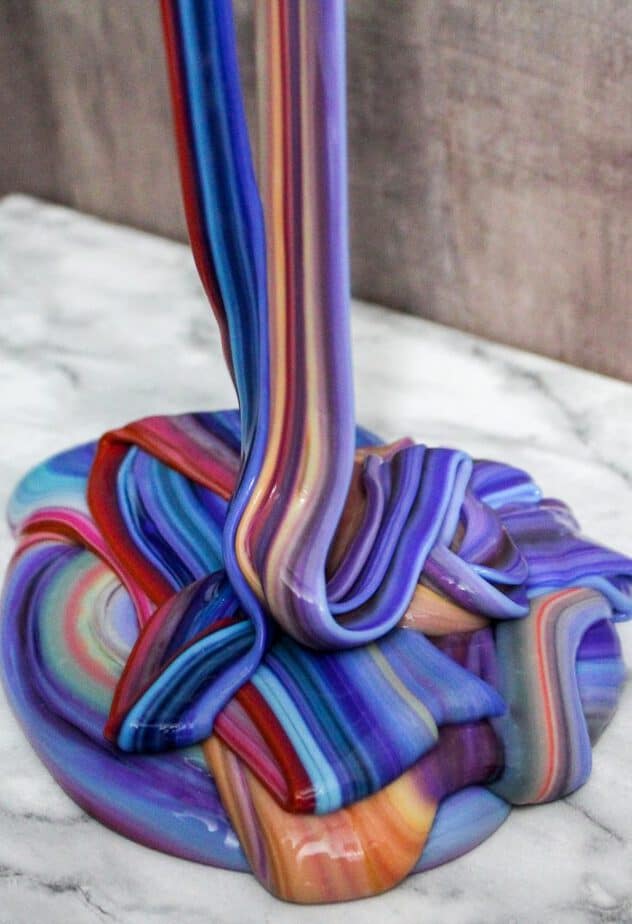
Mystery Color Homemade Slime Recipe - this slime is made with white slime and clear slime, and you never know what color your slime will be when it's done!
Ingredients
- 1 5 oz bottle of clear glue
- 5 oz white glue
- 1 cup water (divided into two ½ cup portions)
- 1 tsp baking soda (divided into two ½ tsp portions)
- 2 tbsp contact solution (divided into two 1 tbsp portions)
- Food coloring - any colors - we used neon food colors for this batch
- Small bowl
Instructions
**IMPORTANT** This slime is made with two different slime recipes, a clear slime and a white slime.
In a small container, pour ½ cup of water.
Add ½ tsp of baking soda and 1 tbsp of contact solution.
Pour in 5 oz of clear glue and allow it to sit untouched while you make the rest of your slime.
Pour 5 oz of white glue into a second container.
Add ½ cup of water and stir.
Pour ½ tsp of baking soda and stir again.
Finally, mix 1 tbsp of contact solution. Your slime will begin to form immediately.
Knead it until fully formed.
Place in the bottom of a container with a lid that you will use for storing.
Cover the top of the slime with whatever colors of food coloring you want to use. Use a knife or a spoon to make sure that it is fully covered. (You can leave some white areas if you want some white ribbons!)
Get your container of clear slime - it will be ready now. Pull it out and knead. You may need to add a bit more baking soda (if it is not thick enough) or contact solution (if it is still sticky). Add as needed, if needed.
Once it has formed fully, spread the clear slime on top of the food coloring and white slime.
Cover and let it sit for 24 hours.
After a few hours you will begin to see the colors drop.
After 24 hours, your slime will be ready. This is the exciting part!
Pull your slime out and it will be in beautiful, multicolored ribbons! No two slimes can ever be the same, with different color combinations and patterns done on the top. The clear slime that you put to coat the colors, give the slime a beautiful shine.
Eventually after playing with the slime, it will begin to form a solid color. The final color is a mystery when you make it. We have had some turn out to be beautiful purples (this one turned purple!), blues, pinks and even an almost black color. You can after add glitter if you want or keep it a solid color.
Store in an airtight container.