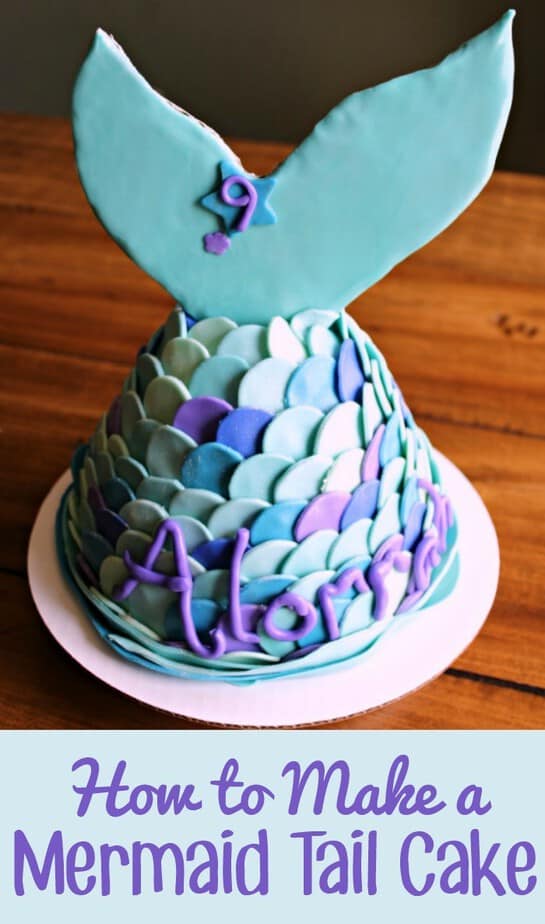
How to Make a Mermaid Tail Cake
Ingredients and Supplies:
- 1 Cake Mix (and ingredients needed to prepare) – I used a gluten free chocolate but you can use your favorite brand and flavor.
- 1 Batch of Prepared Fondant – Homemade marshmallow fondant tastes amazing and is fairly easy or you can use your favorite ready to use like Satin Ice.
- 1 Batch of Buttercream Frosting
- Food Coloring – I used blue, teal, and violet. For fondant, gel colors work the best.
- Edible Shimmer Powder
- Silicone Rolling Pin
- Medium Stainless Bowl and Small Stainless Bowl
- Spatula/Frosting Knife
- Small Circle Cookie Cutter, Small Star Cookie Cutter, and Small Flower Cookie Cutter
- Knife
- Parchment Paper
- Cardboard
- Cake Plate or Cake Board
- Paint Brush
Instructions:
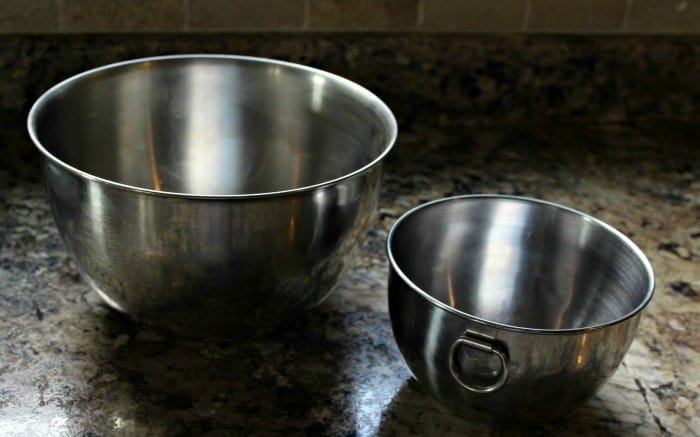
The very first, and most important part, of getting this Mermaid Tail Cake right is baking the cake. I don’t like to spend a lot of extra money on special cake pans so I prefer to get creative with what I have on hand. This cake shape is easily created by baking the prepared cake mix in a medium stainless mixing bowl and a small stainless mixing bowl like those shown here.
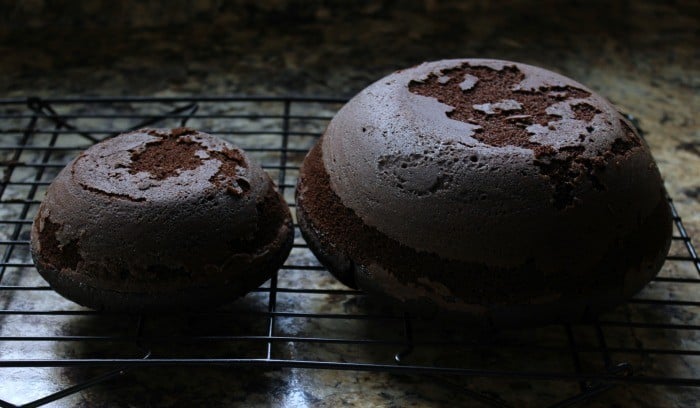
Prepare the cake mix as normal and pour the batter into the bowls. To keep them from sticking either coat with a non-stick baking spray or shortening and flour. Bake in a preheated oven according to package instructions. You will more than likely have to extend baking time to insure the cakes are done through. Check them often after the initial bake time, removing once a pick inserted in the middle comes out clean.
Remove them from the oven and allow them to cool 15 -20 minutes in the bowls. After the first cooling period, remove them from the bowls and allow them to cool completely on a cooling rack.
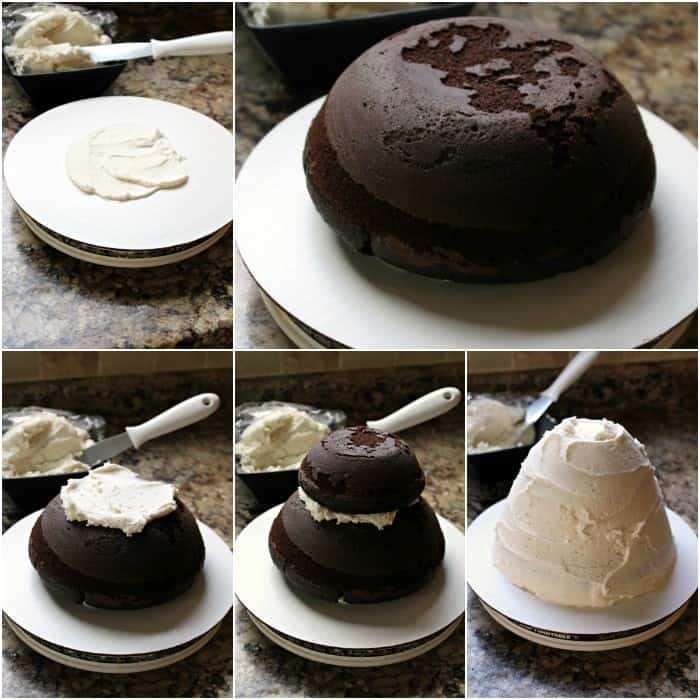
While the cakes are cooling prepare a batch of Buttercream Frosting. Once they are cooled enough to work with smooth a small amount of buttercream on your cake board. Place the large bowl shaped cake onto the board, flat side down. If you need to trim the flat side to create a level surface do so before turning it over. Next add a small amount of frosting to the top of the large cake and place the smaller cake on top. Use your frosting knife to then completely cover the cone shaped cake. This doesn’t have to be super neat as it will be covered with “scales”. You’ll want the frosting layer fairly thick to give the fondant something to stick to.
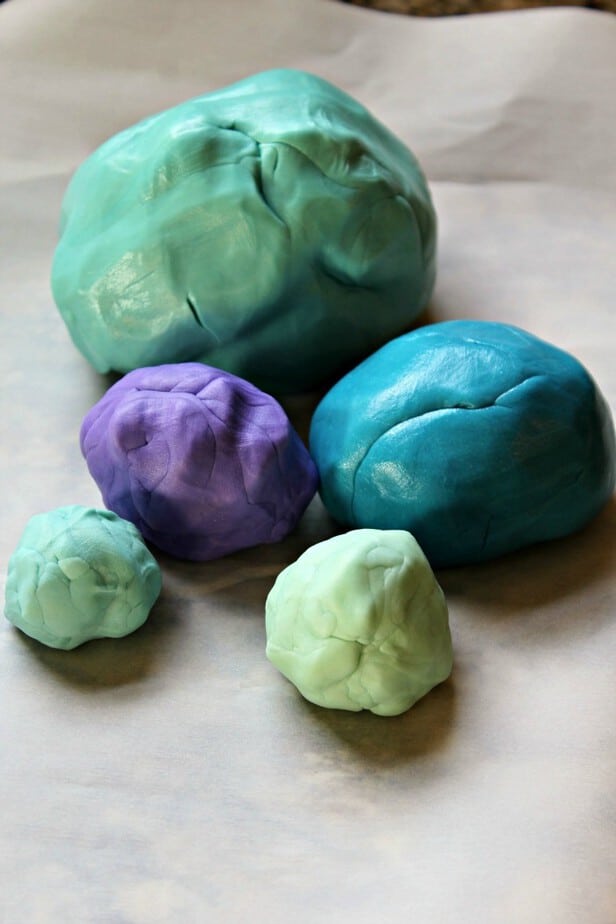
Next you’ll want to color your fondant. I like to make all of my colors I plan to use at once. For this project I wanted the turquoise to be all the same hue but different shades. To do that I made a large amount of my darkest color using the teal food coloring gel and then divided it into 3 pieces. I then added white, in different amounts, to 2 of them to create a gradual color change. I also made a purple and a contrasting blue.
After your fondant is colored use a silicone rolling pin to roll each color out flat. Use your small circle cookie cutter to cut out “scales” in each color.
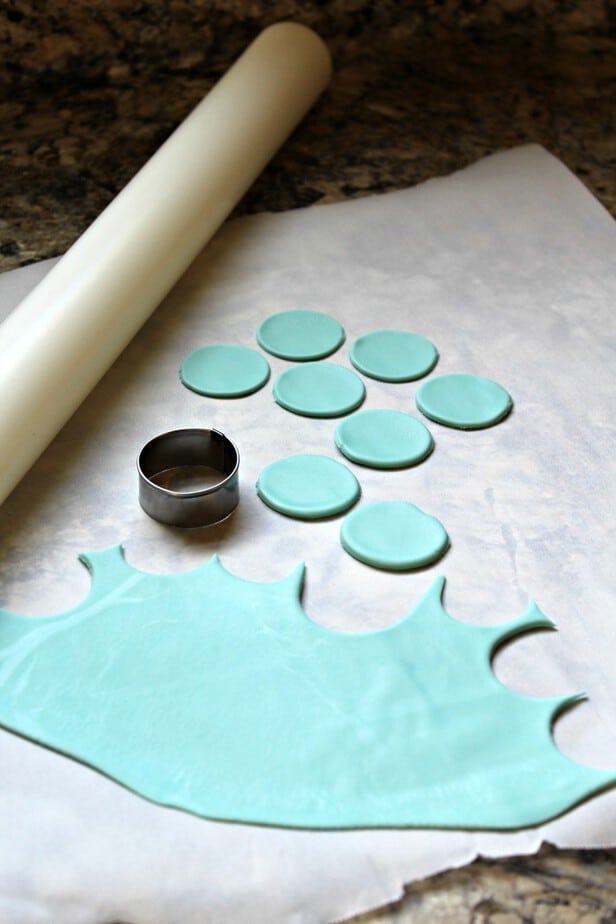
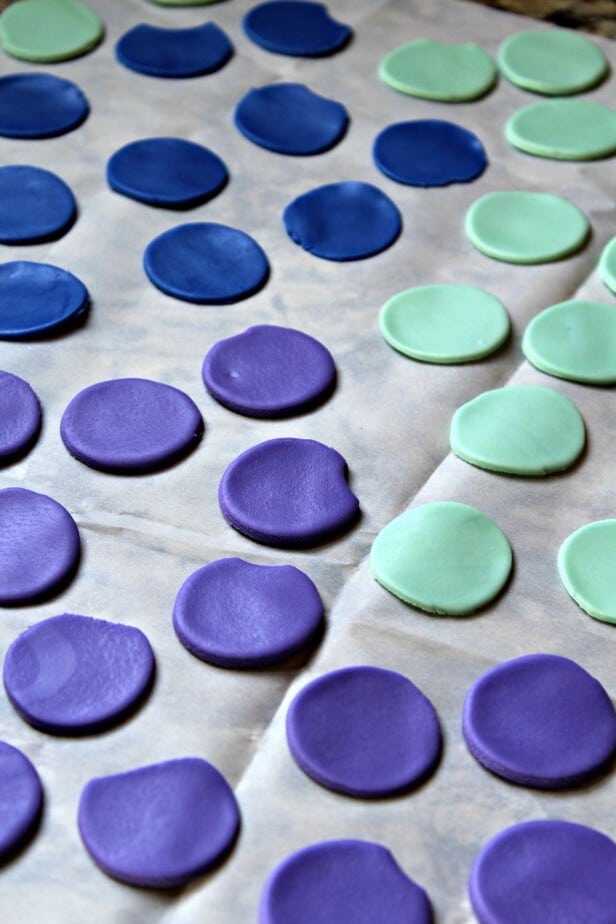
I made more of the turquoise scales and less of the purple and blue but in total I made about 80-90.
Starting from the top, begin layering the scales onto the cake. You’ll need to add some buttercream to the backs as you go for glue. I didn’t use any particular pattern with the colors but rather tried to have the purple and blues be more random and spread out.
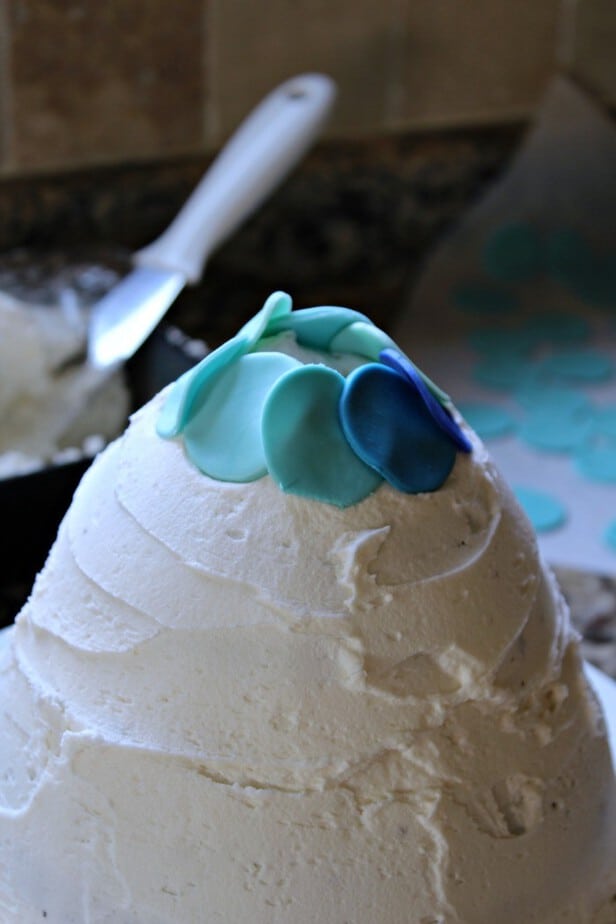
As you work your way around and down the cake be sure to overlap the scales.
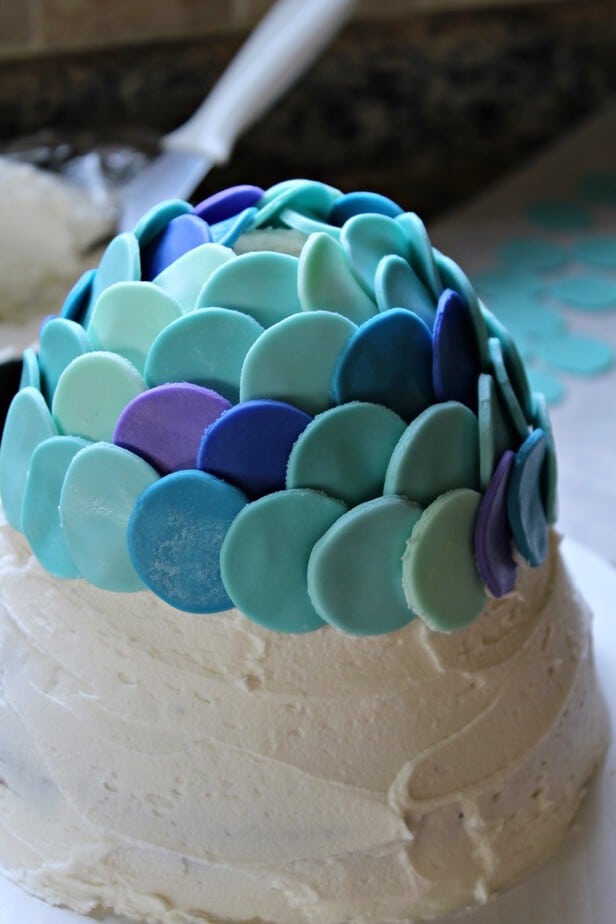
Continue adding the scales and overlapping them until you have covered the whole cake.
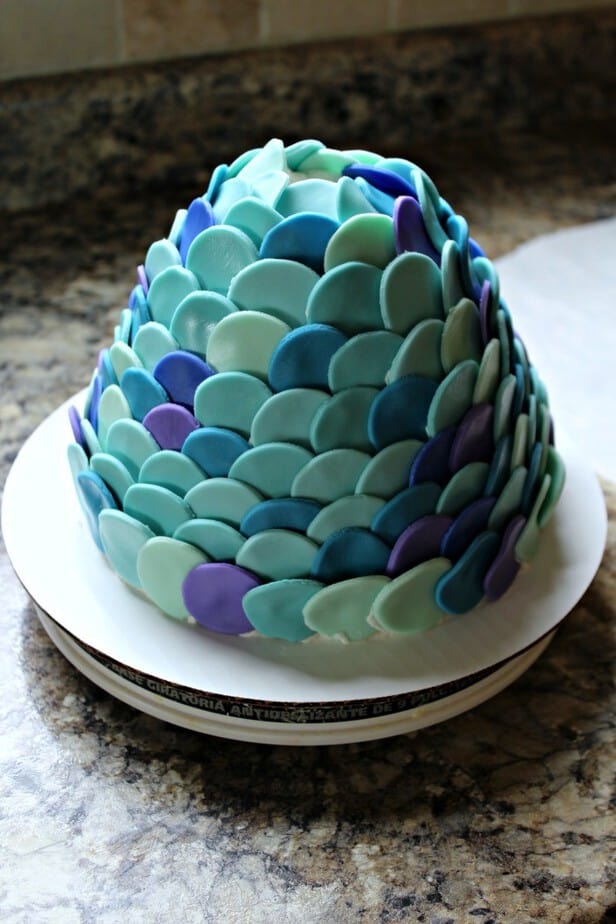
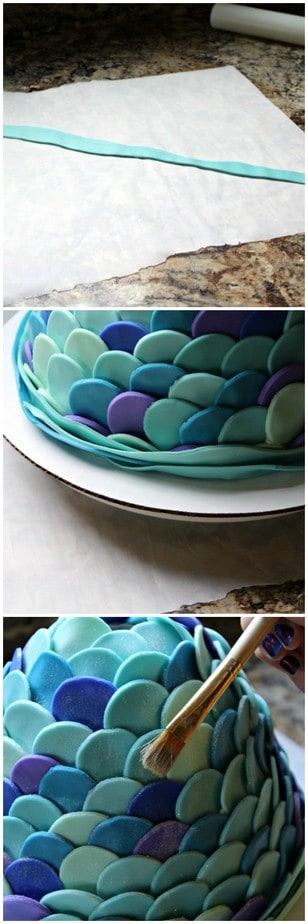
Next roll out a piece of the turquoise fondant and cut several strips with a knife. I used a wave like motion to cut in order to create the look of waves around the bottom of the cake. Once the are cut, wrap them around the base. To finish off the look, use a paintbrush to add shimmer powder to the entire cake. After all, what little or big girl doesn’t LOVE some shimmer!
After the cake is covered cut out a tail shape from a stiff piece of cardboard. Roll out more of the turquoise fondant and cut it to fit the cardboard tale. Use buttercream to glue the fondant to the cardboard. I just sketched the shape out and used scissors to cut it.
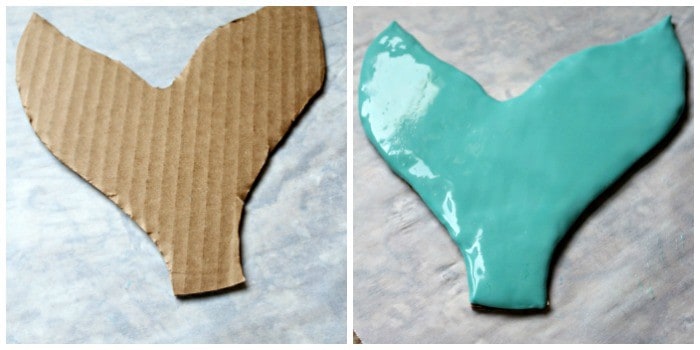
Place the tail into the top of the cake. To make it more personal, add a star and flower to the tale and the age of the birthday girl.
You can also roll the fondant out and use letter cookie cutters to add the child’s name or I rolled it between my hands to make a rope and shaped the rope into her name. Remember, working with fondant is a lot like working with Play-doh.
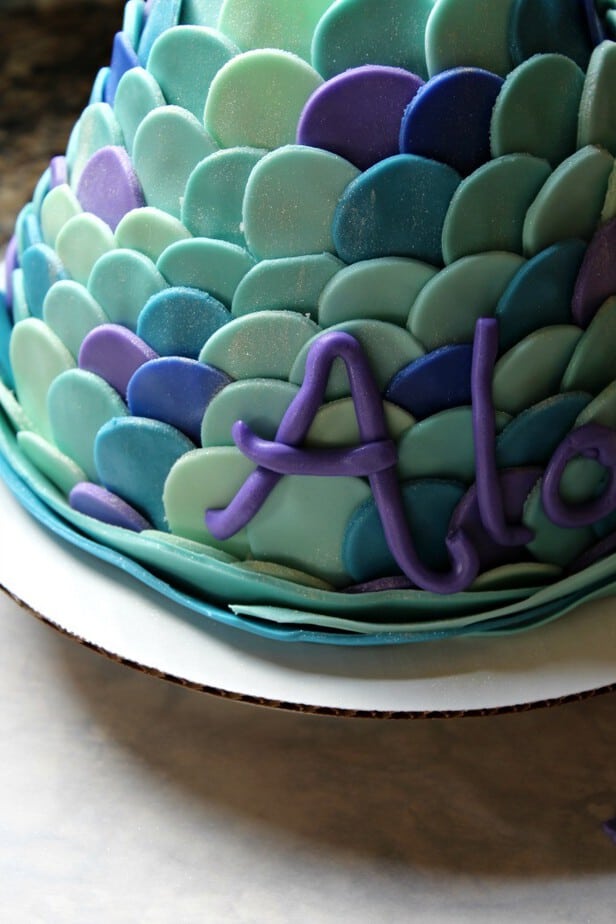
Once the name has been added, your Mermaid Tail Cake is complete!
Watch this video to see just how easy it is to make one yourself!
Sapana V says
This is so beautiful and easy-to-make cake. I will try it.