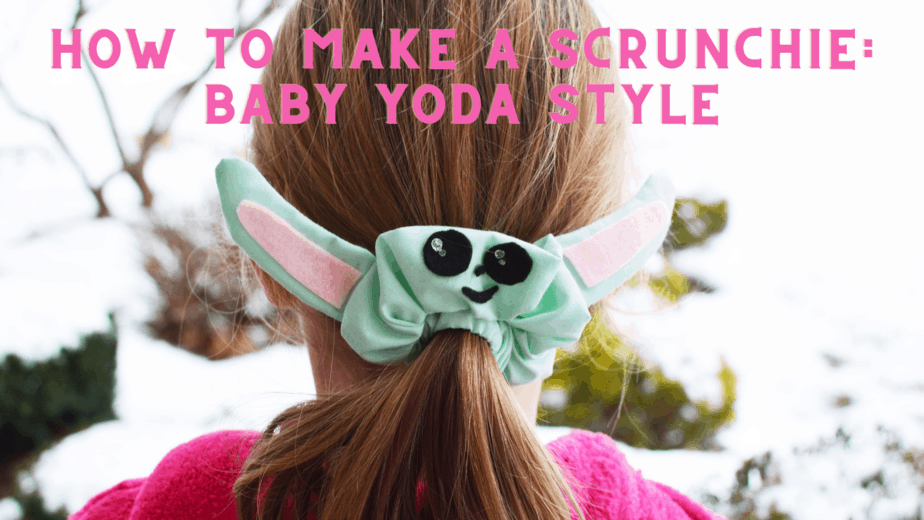
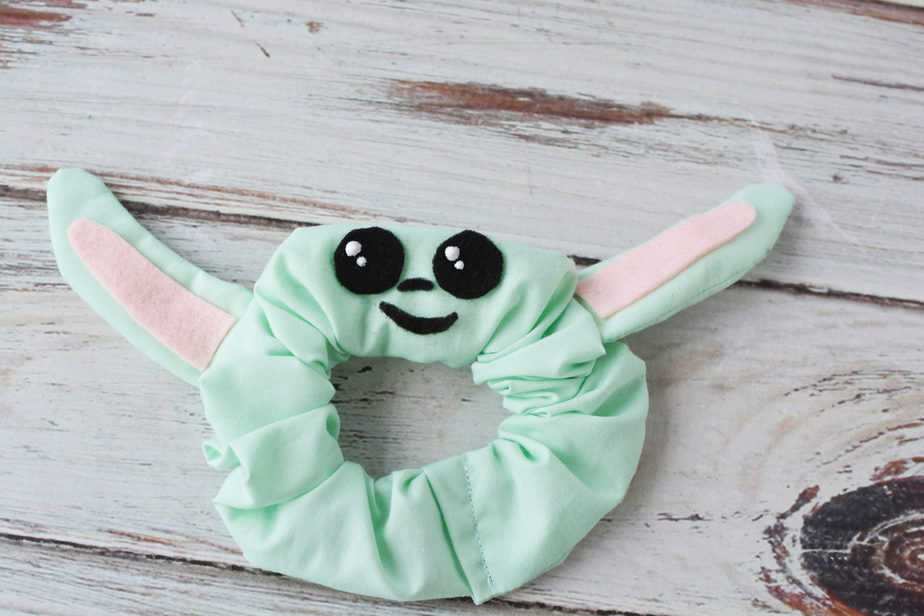
We’re all a little in love with baby Yoda, aka Grogu. Except we loved him as Baby Yoda for so long, we may never use his name on a regular basis. When I was on Facebook one day this fall, I saw an ad for Baby Yoda scrunchies. I fell in love, clicked the link, and was sad to learn they were sold out. So I started searching…and found some, but they were kind of expensive. More than I wanted to pay. BUT my friend Kari came to the rescue and came up with both a pattern and a step by step DIY to teach us how to make a scrunchie, so now we can make as many as we want. I just have to figure out of Yoda in the plural form is yodas or yodaii. Anyone?
You can handle this. We (my 11 year old) and I started sewing by making masks this summer…thanks to a very very VERY patient neighbor who has a heart of gold and everlasting patience…and we’ve managed to make a few other things now- scrunchies, a stocking, a hanging pouch for a bed… we’re going to make ice skate blade covers soon too! Oh. and pajama pants. We made a LOT of pajama pants- and if we can ever find the fabrics we want we will make more. Remember back in 2019 and we weren’t in a pandemic and if you wanted to find a thing you just went and got it? Even fun fabrics are sold out everywhere still!
Anyway, let’s make scrunchies. I think my hair’s about 8 inches longer than it’s ever been and I am ready to make it look at little cuter.
How to make a Scrunchie: Baby Yoda Style
Materials
Directions:
How to make a Scrunchie: Baby Yoda Style
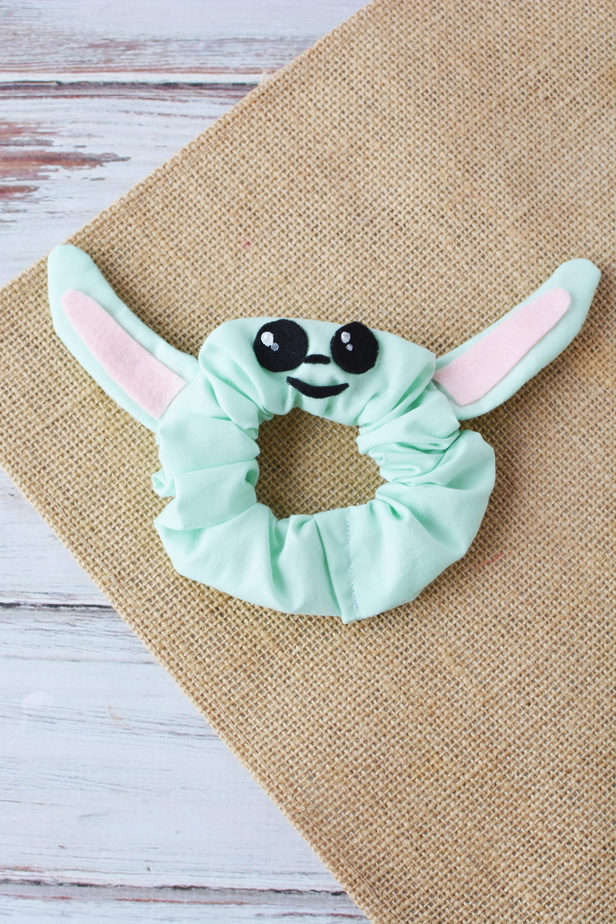
how to make a scrunchie baby yoda style-easy beginner sewing project to make cute hair scrunchie, diy star wars sewing project
Materials
- green material (We used quilting cotton, and you can choose whichever shade you prefer. this is what was available when we went to the store)
- pink felt
- black felt
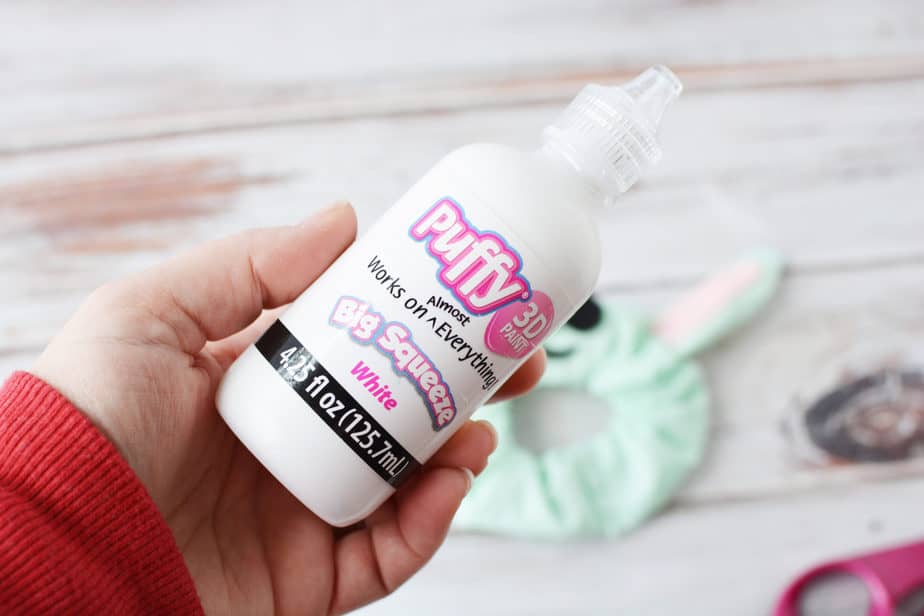
- white puffy paint
- 9" piece of elastic (about 1/4" wide)
Tools
- scissors
- printable pattern
- pencil
- thread
- push pins
- ruler
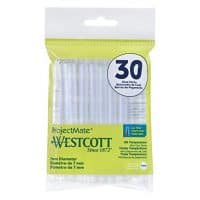
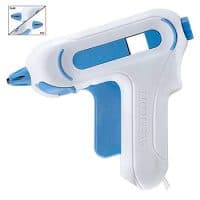
- hot glue and hot glue gun
- sewing machine (or needle/thread)
Instructions
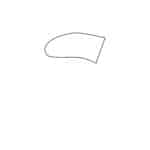
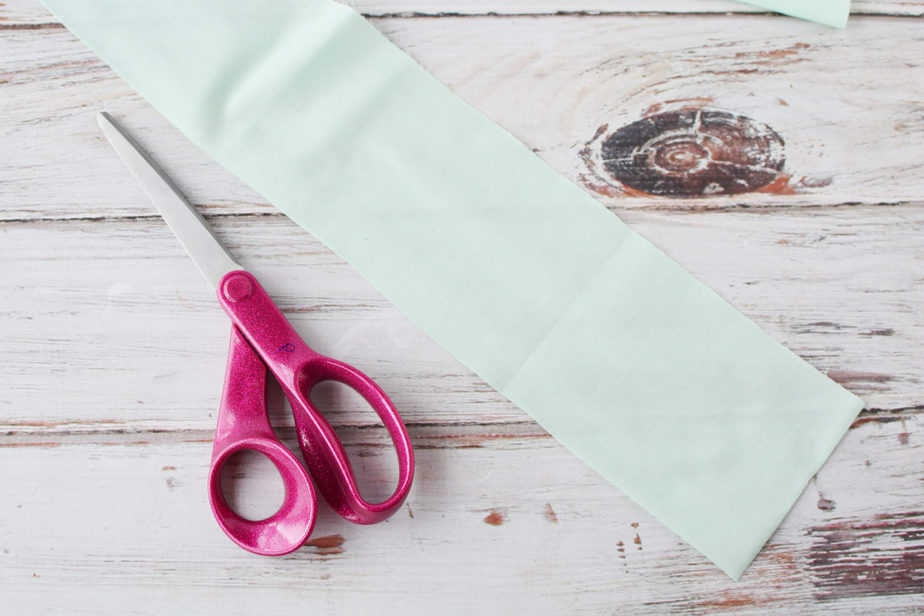
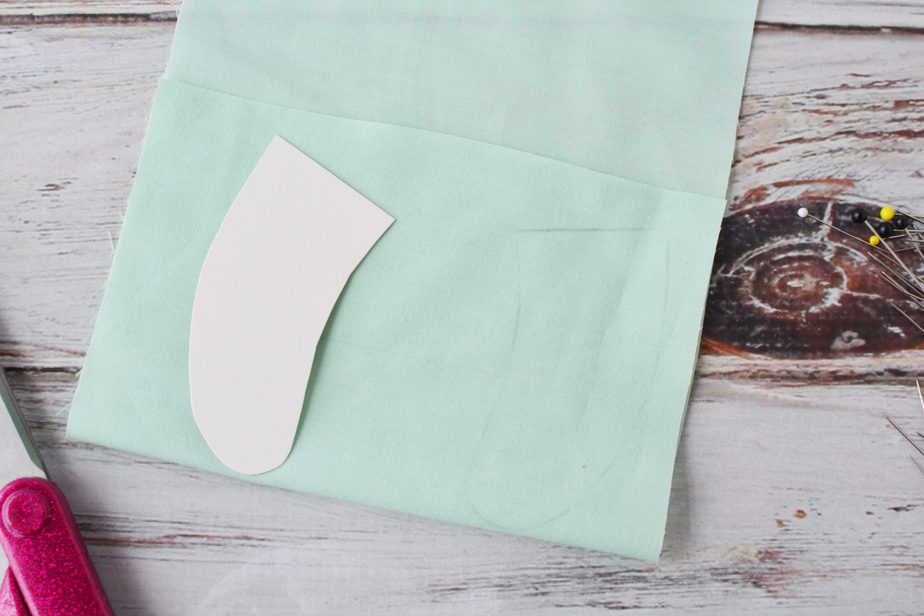
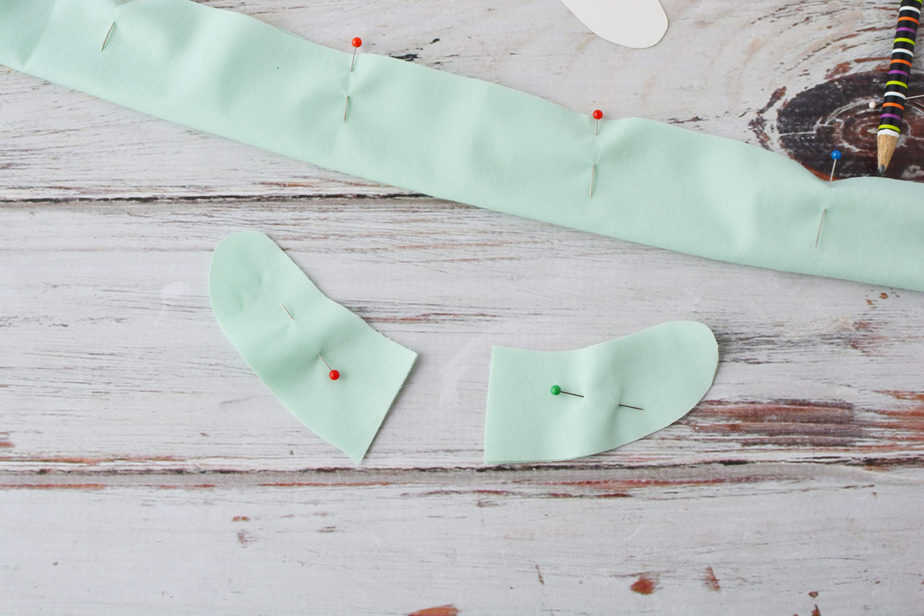
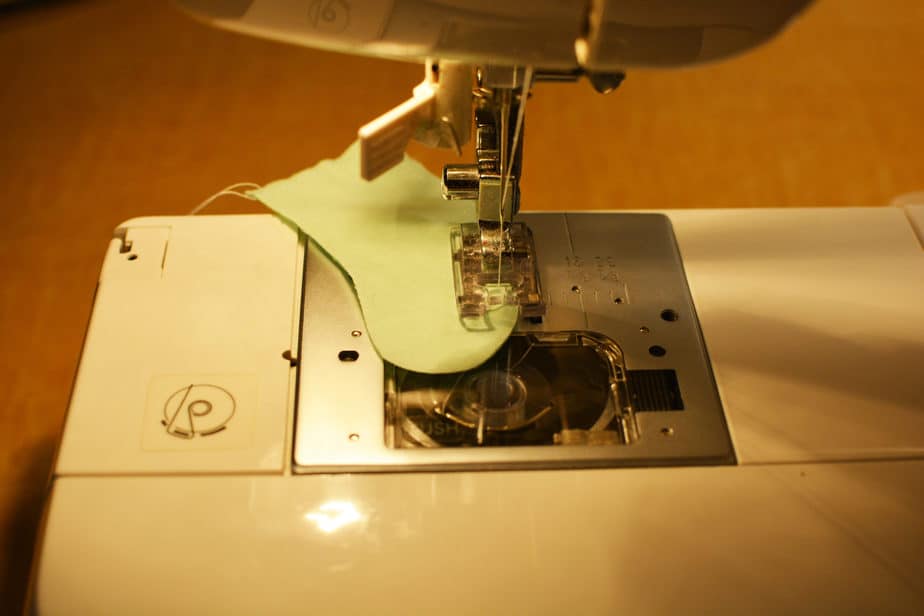
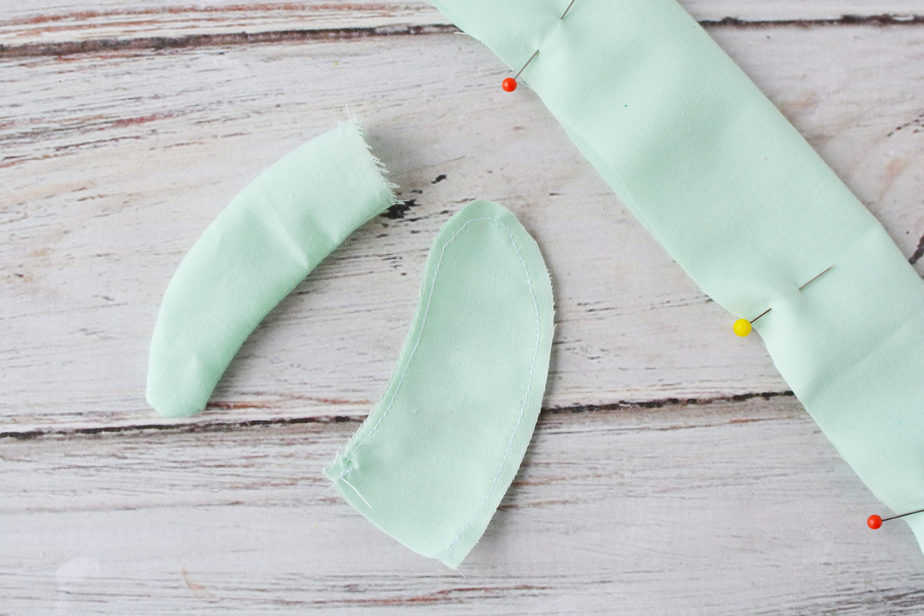
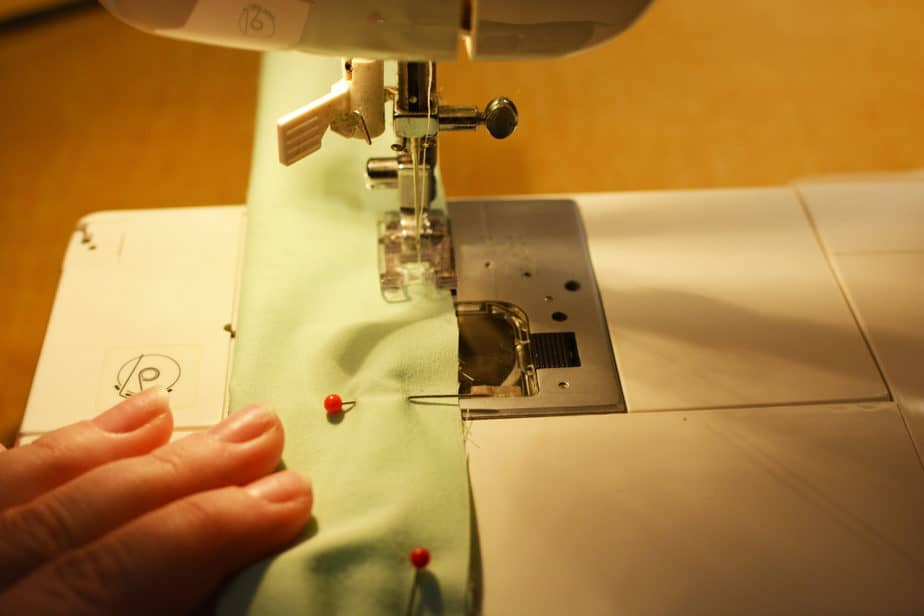
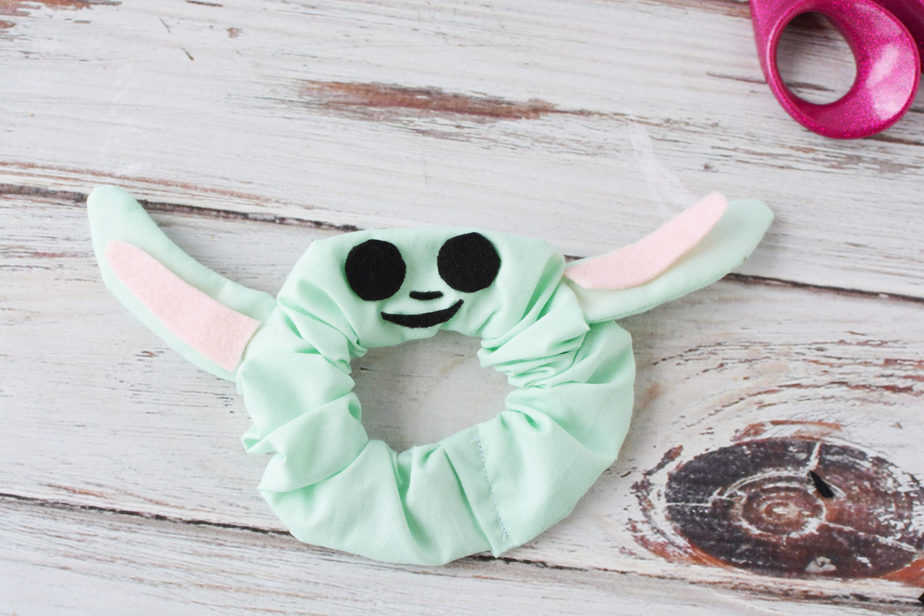
- Cut the green fabric 3.5" wide x 22" long. Cut out the ear pattern and cut 4 ears. Pinning two pieces of fabric together. Stitch around the edges of the ears, leaving an opening on the short, straight edge. Turn ears right side out.
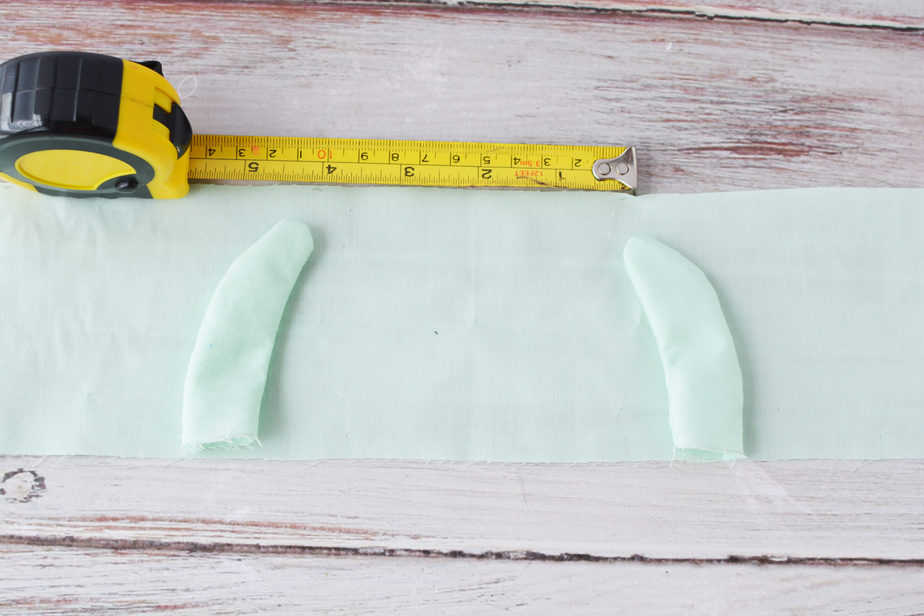
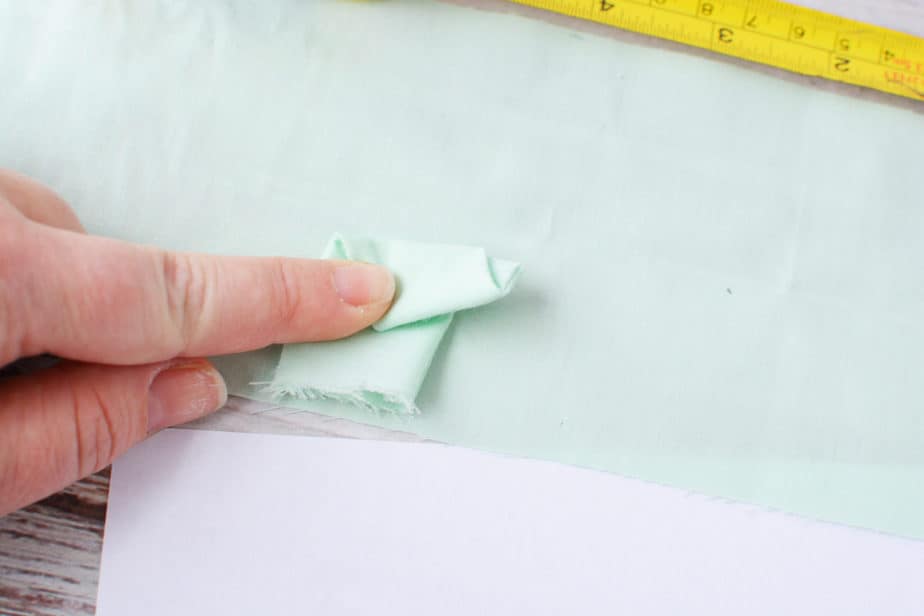
- Find the center of your long piece of fabric by folding it in half. Place the ears, as shown 4" apart. Gently tuck the ears and fold the long fabric in half lengthwise. You'll need to fold the ears so they are inside your scrunchie and will not get caught and stitched when you sew it.
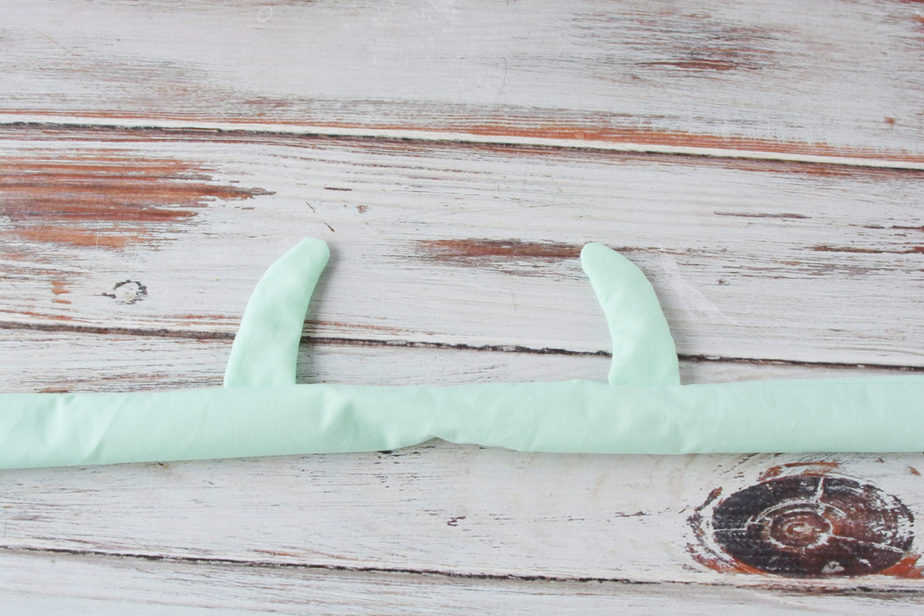
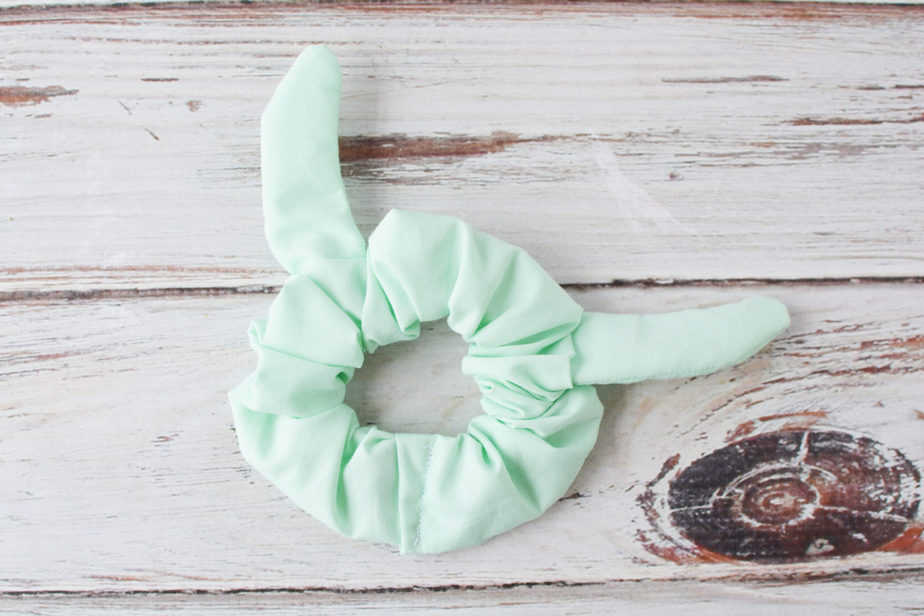
- Pin the rest of the scrunchie and stitch. Turn the fabric right side out and the ears should pop up and have a yoda shape.
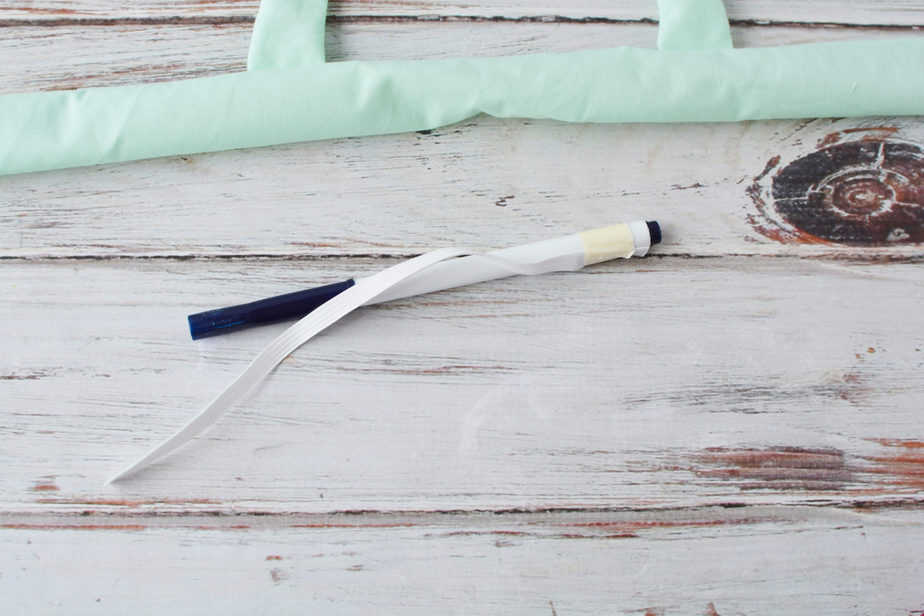
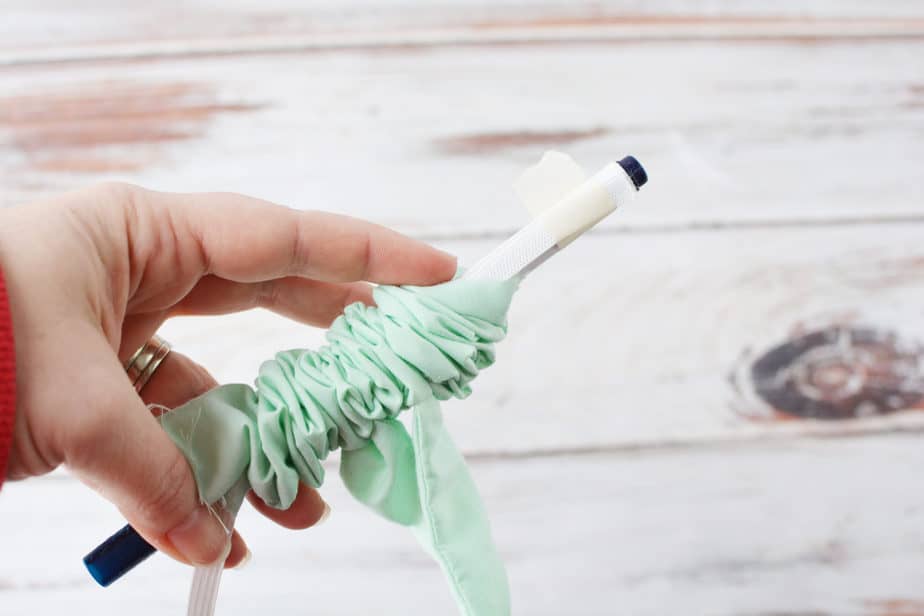
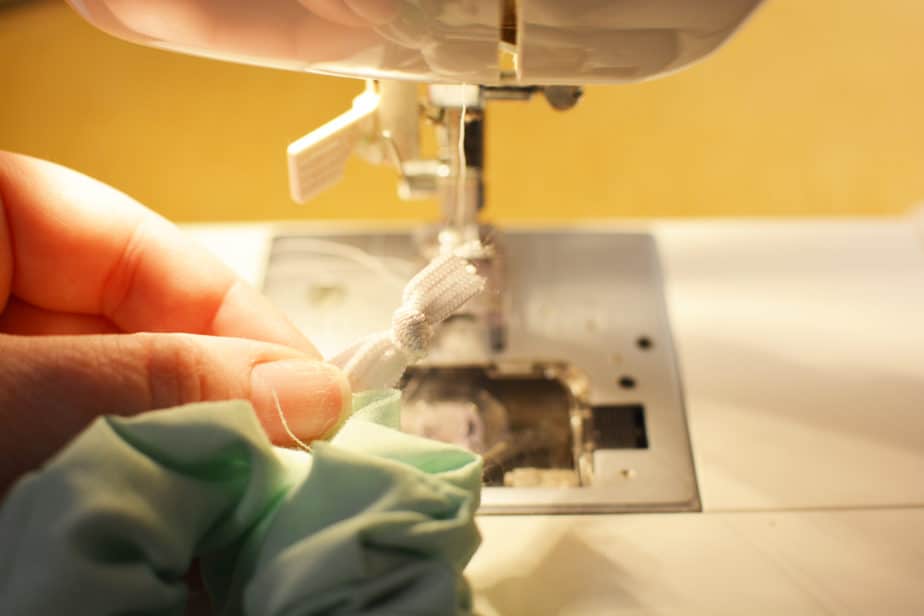
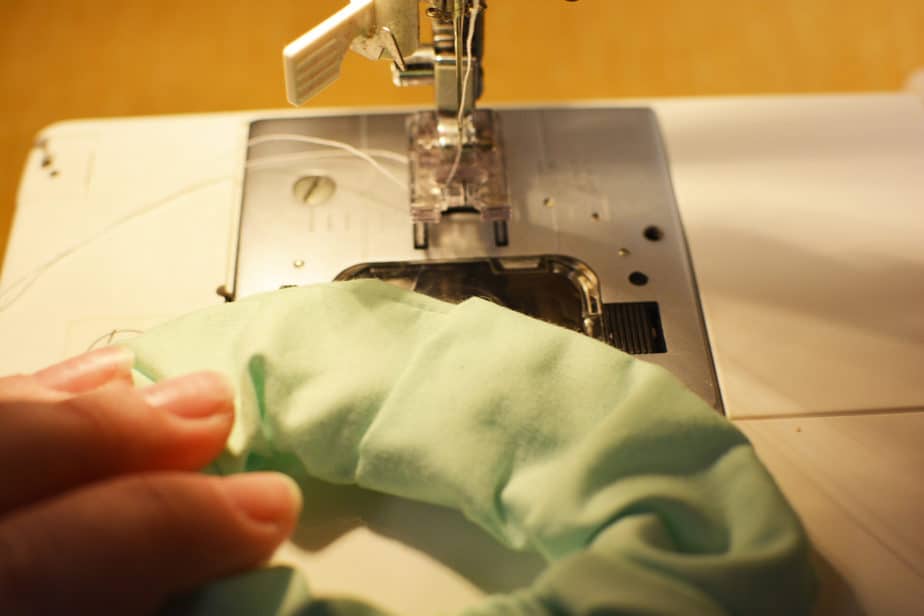
- Tape a piece of elastic onto a marker and slide through the scrunchie. Tie in a knot. Fold over the open ends to complete the circle and stitch shut.
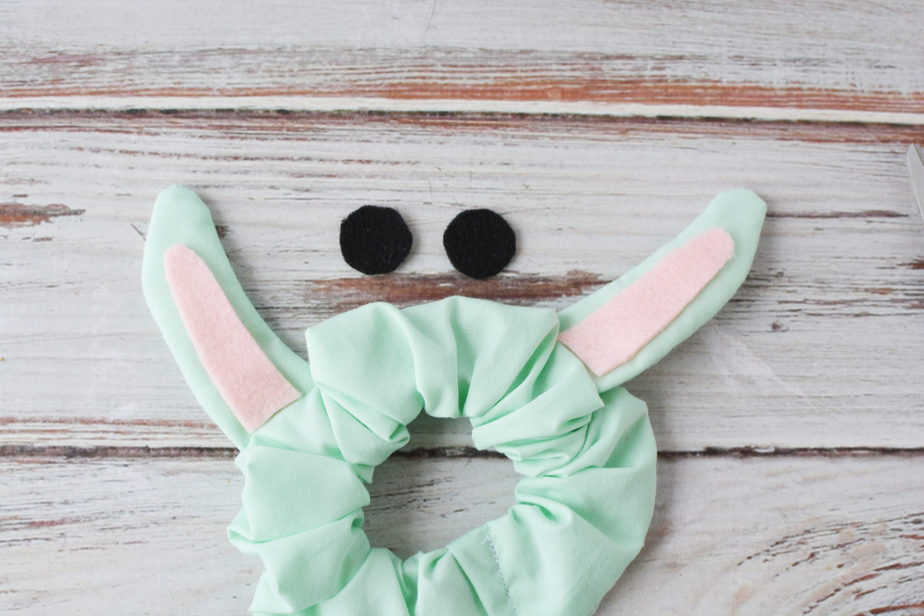
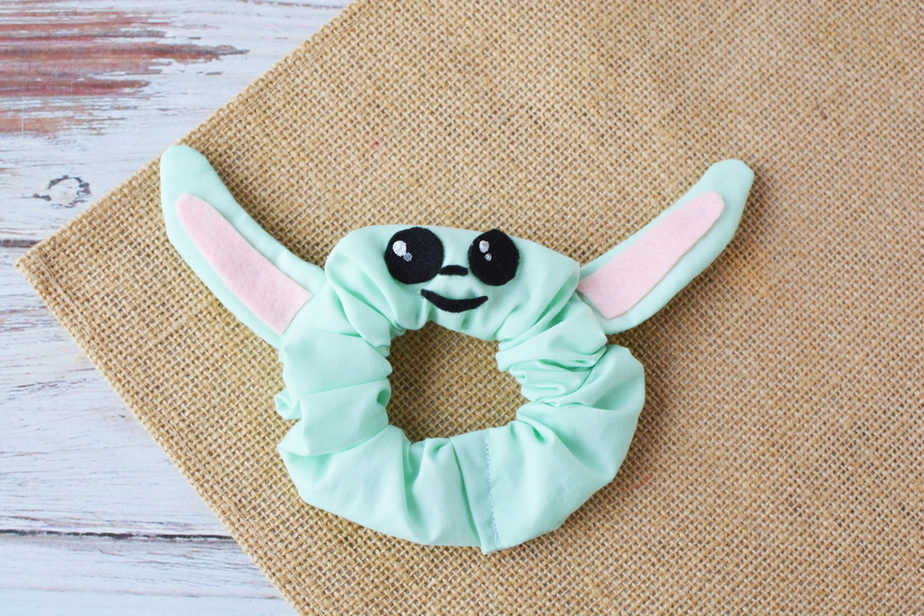
- Cut ear centers out of pink felt and affix with hot glue to the ears. Cut eyes, nose and mouth out of black felt and affix to the scrunchie with hot glue.
- Use white puffy paint to add detail to the eyes.
- Let set to dry completely.
Notes
Hand wash only!
Recommended Products
As an Amazon Associate and member of other affiliate programs, I earn from qualifying purchases.
